

Most brewers are well aware of the importance of hygiene and sanitation when dealing with our carefully crafted products. Sometimes though it's the parts you cannot see and easily clean that are harboring some of the nasty stuff we try so diligently to avoid. That's what we discovered when we decided to tear down our taps from our kegerator for a thorough cleaning.
Introduction
We've always been pretty diligent with regularly flushing the lines and taps with powdered brewery wash (PBW) and sanitiser, but as it turns out this alone isn't really sufficient to keep things as clean as they need to be which was a little surprising to us.
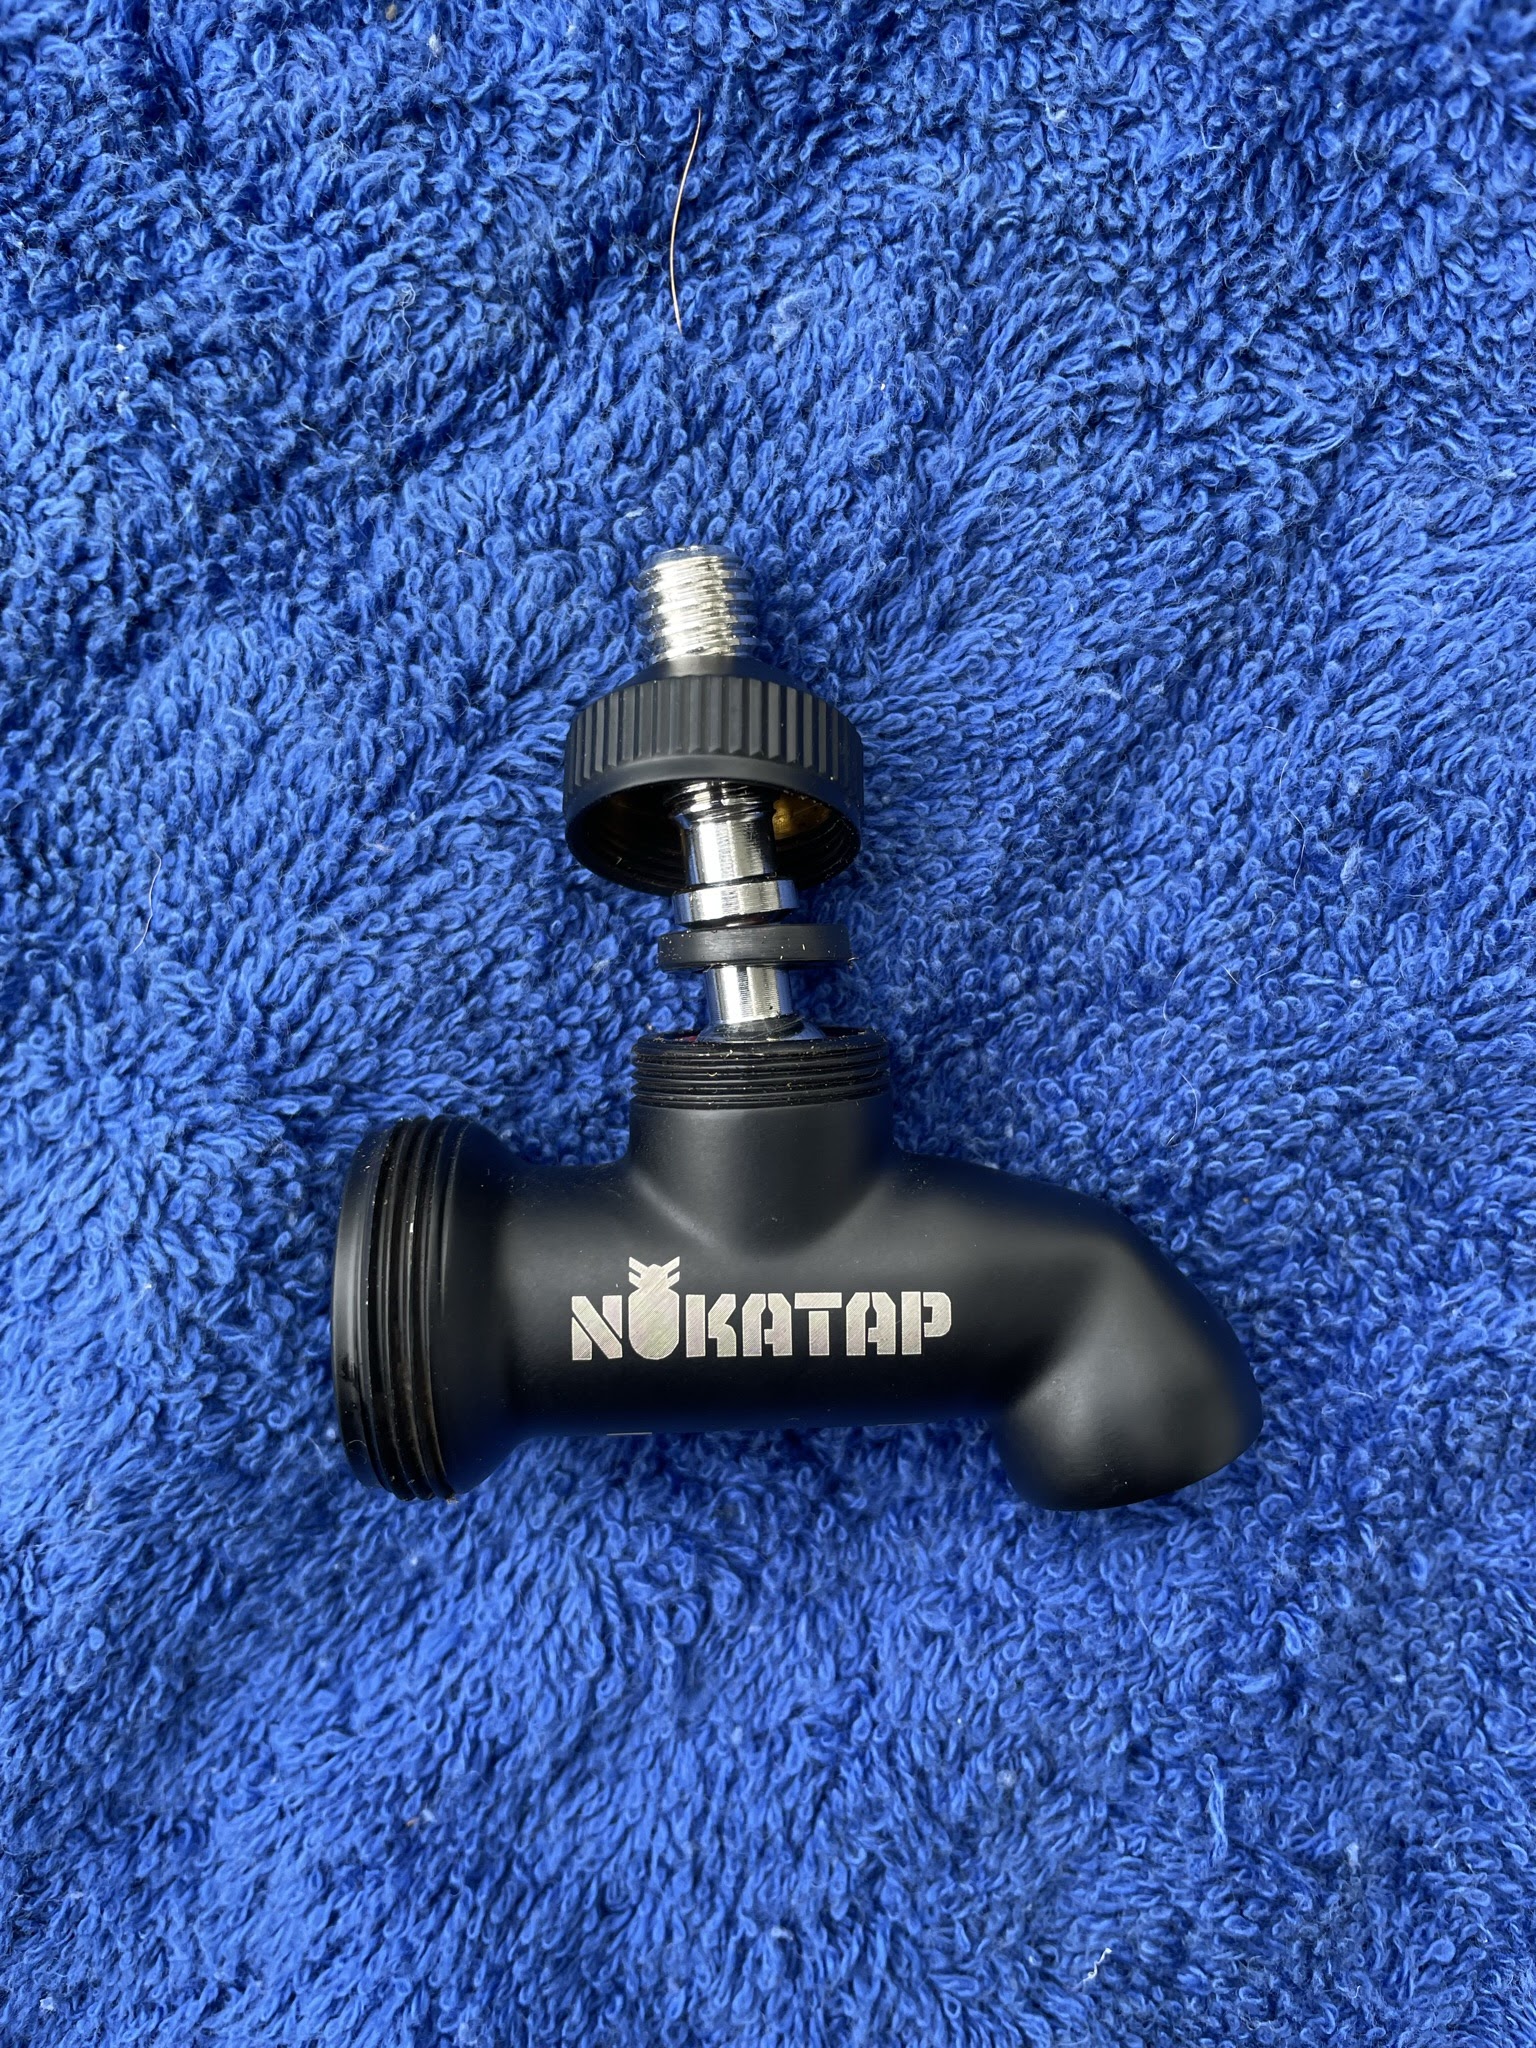
Here's a step by step guide on the process we used to dismantle and clean our Nukataps from our custom kegerator.
Nukatap - Steps to Disassemble for Cleaning
- Before beginning, ensure the liquid source for the tap (eg. keg) has been disconnected and drain what's left in the tap line as best you can.
- Unscrew and remove the top handle from the tap.

- Using a tap spanner, unscrew the ring collar from the tap. Note that to unscrew the thread, you need to turn it clockwise.

- We recommend putting a bucket or some other vessel underneath the tap as there will inevitably still be some fluid remaining in the tap/line that will leak out once this is undone.

- Remove the tap from the shank.

- Mix up some PBW and water in a clean bucket. Cold water is fine, warm water tends to work better.

- Now it's time to pull the tap apart. We like to do this on a towel or blanket to ensure we don't scratch or mark the finish on the tap.

- Unscrew the nozzle from the main tap body.

- Unscrew and remove the handle collar from the tap body.

- Unscrew and remove the bonnet from the tap body.

- Remove the lever from the tap body by pulling straight out - the seals/washers can remain on the lever as well.

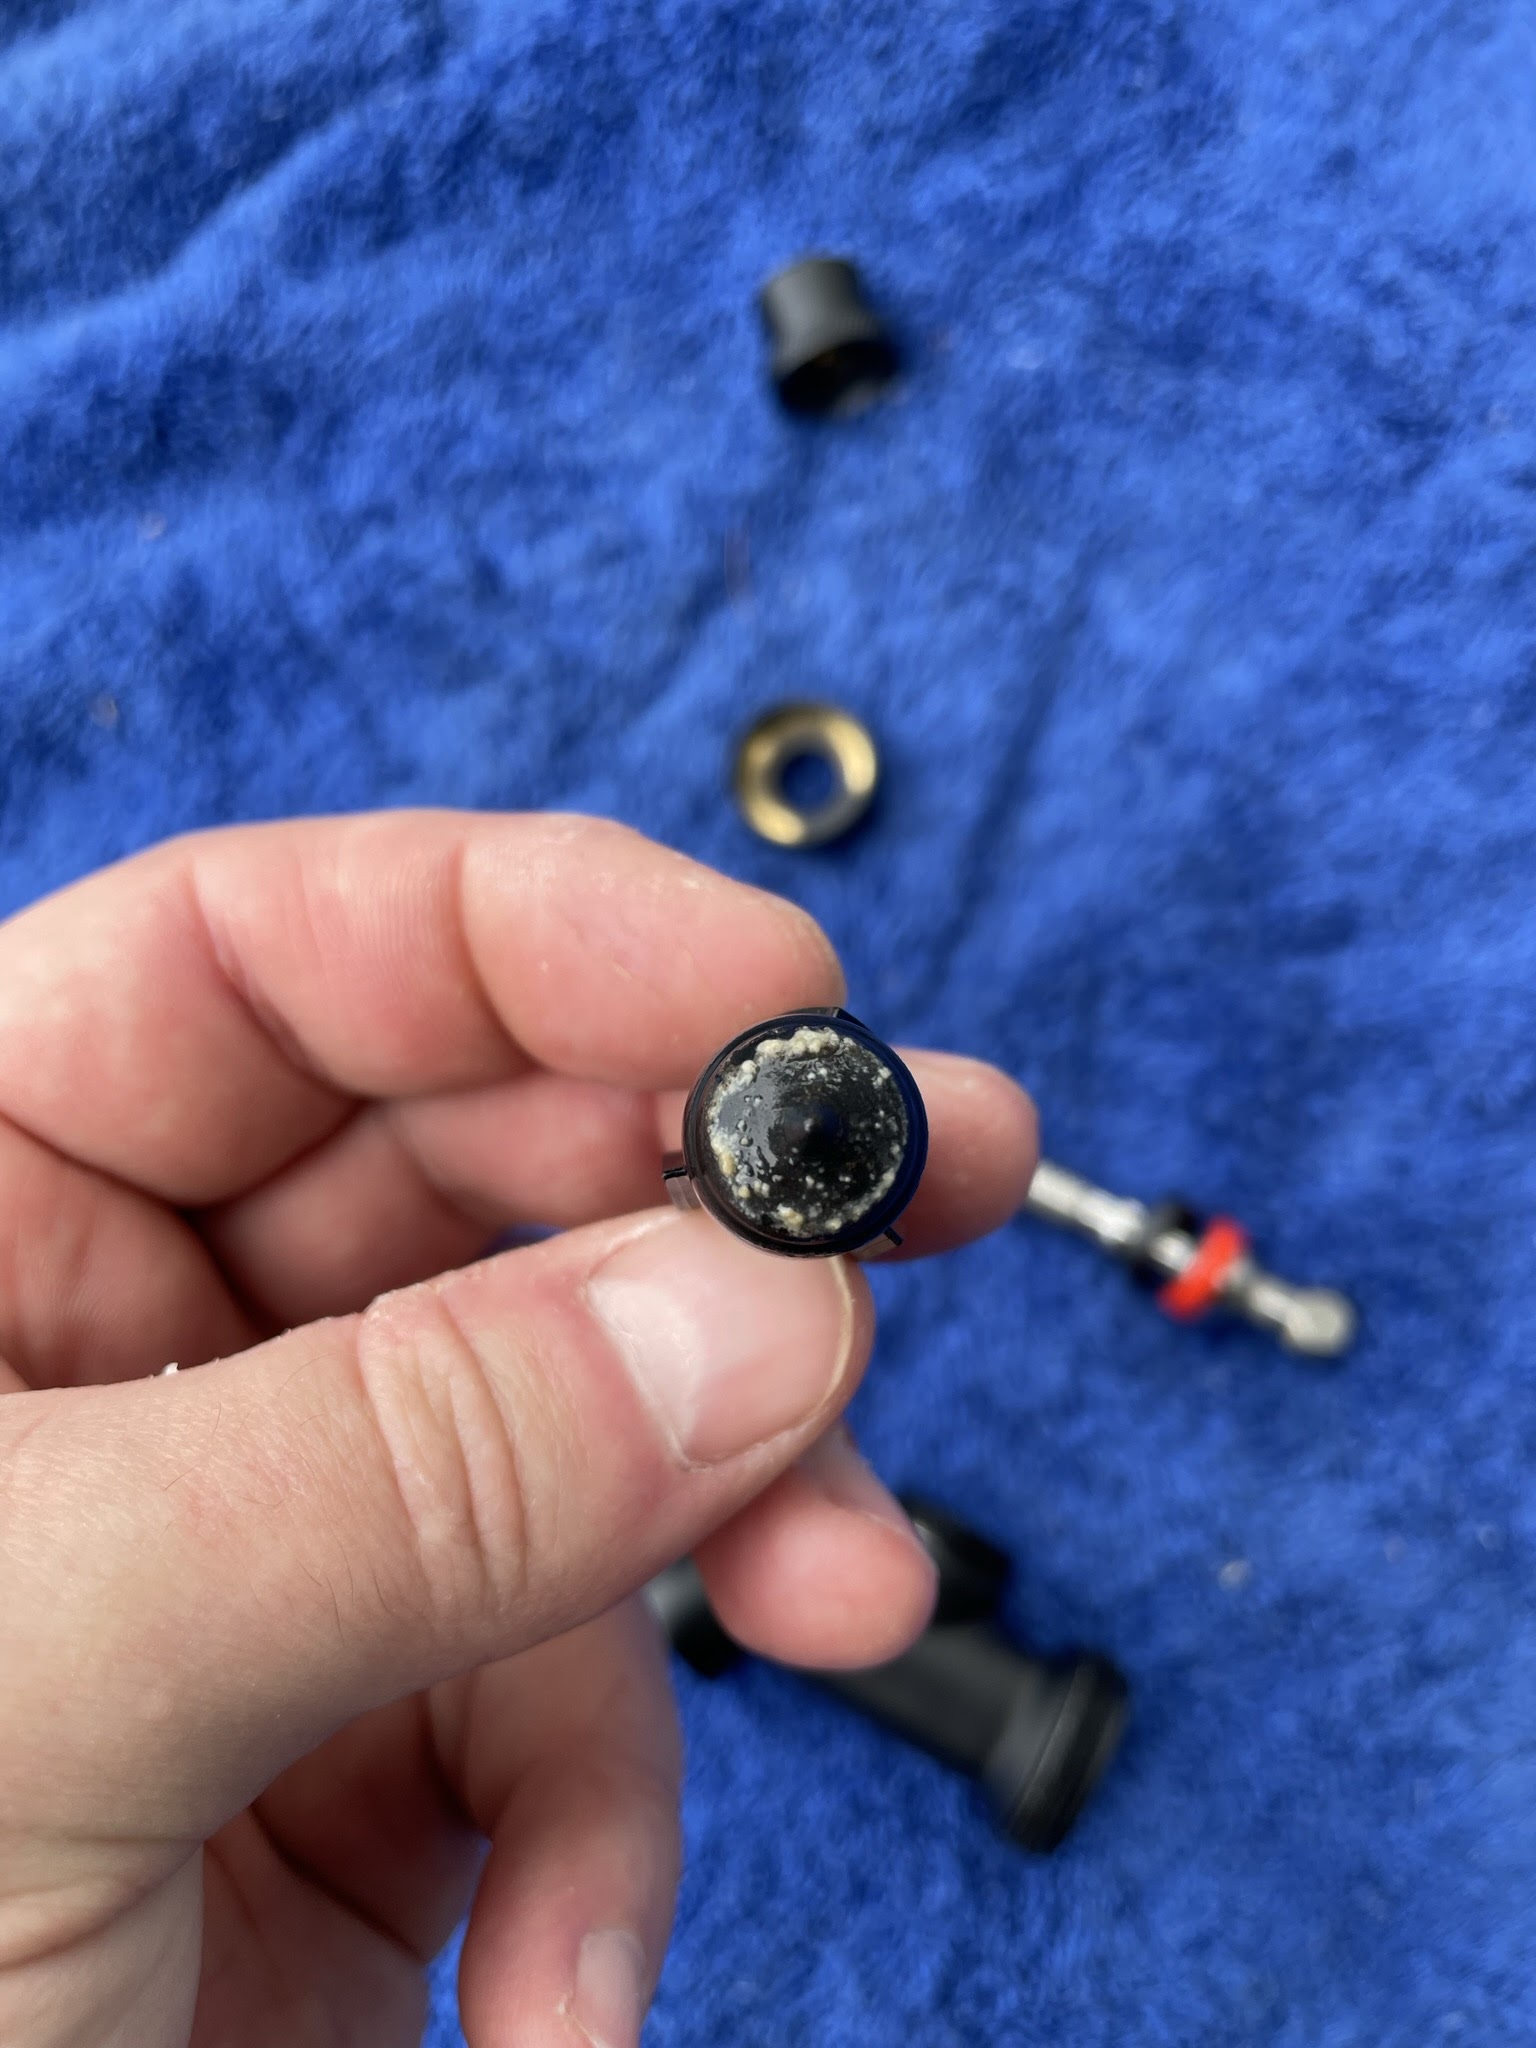
- The last piece to come out is the Nukatap shuttle which is still in the tap body. Remove the shuttle via the back of the tap
The amount of build up on the front part of the shuttle was really surprising to us. Gross!
- Your tap is now fully disassembled. You can put all the pieces into your PBW mixture from Step 6 for a soak.

- Clean the tap body and nozzle with a brush to help clean out any build up that has formed in these parts.

- Once everything has been cleaned and soaked, you can reassemble the tap by following the above steps in reverse. The only tricky part we found is getting the shuttle re-inserted and oriented correctly for the tap handle to slot into it.

- Make sure to screw up the bonnet and handle collar tight. It's a prime source for leaking if they aren't done up tight enough.

- Before reattaching the tap to your shank, it's worthwhile inspecting the inner part of the shank - as you can see from ours below, it will likely have some build up in there

- Spray in some PBW or sanitizer and wipe out with a soft cloth

- Reattach your tap to the shank and tighten the collar using your tap spanner. Note that you need to turn it counter clockwise to tighten

- Finally, we run a sanitizer mixture through the lines and tap followed by a water rinse to finish flushing the lines and internal disconnects. Doing this using a soda bottle as pictured below is a really convenient and efficient way of achieving this.
Check out our Beer Line Cleaning post for more info on this setup
- Use a bucket again to catch the cleaning mixture as it comes out of your tap.


Conclusion
We were surprised at the amount of build up that had occurred within the tap - especially on the shuttle part that essentially acts as the seal within the tap body. A brush would unlikely be able to clean this effectively so it really has highlighted to us the importance of regularly disassembling taps for proper cleaning.
Nasty build up like what is pictured in Step 12 above could really have a negative impact on the flavour and quality of the beer you're serving, and not to mention could lead to infection or other problems within your beer lines and kegerator system.
Thankfully, Nukataps are well designed and engineered making the process of disassembling them really easy and straightforward. Once you've done it the first time you get an appreciation for how easy it truly is. It can be a little daunting the first time for fear of not reassembling it correctly or introducing leaks or other problems. If you do have any leaks after reassembling (we did!), chances are that something in the vicinity of the leak just needs to be tightened a little more. In our case it was the bonnet screw that leaked which immediately stopped once we tightened it a little further.
PS: we hope you enjoyed the above article and thank you for reading this far! If you found this article useful, please consider subscribing using the in-page sign up window. It really helps us grow the site, and you'll get a single email from us weekly with links to our latest and greatest content, that's all! Thanks again for checking out our blog.
Related Articles


No comments:
Post a Comment