India Pale Ale (IPA) is an increasingly popular style of beer with a large number of sub-styles or varieties. Looking through them at your nearest craft brew store can be somewhat overwhelming because an IPA is no longer just an IPA - it could be any number of different IPA incarnations. Here's a list compiled from many different sources giving a brief outline of as many different IPA varieties as we could find.
English IPA
IPA as a beer style was originally developed in England - so this style is considered the "original". British IPA's are generally golden in colour and use classic british hops such as fuggles or east kent goldings. These hops tend to give them grassy, earthy and spicy under tones with some light citrus some times. Expect around 6-7% ABV and a dry finish.
West Coast IPA
Springing up from the west coast of the USA in California - the West Coast IPA focuses on hop aroma and flavour with neutral style yeasts. Think the big american "C" hops - cascade, chinook, citra which leads to a citra-dominant taste and aroma with some hints of pine and other earthy undertones. A little less dry than their English derived inspiration because of the inclusion of specialty malts such as crystal. Expect a more bitter finish as well - these can be anywhere up to 80 IBU's.
East Coast IPA
Similar to the West Coast IPA style - with the difference of yeast properties. East Coast IPA's tend to use mutated and complicated British yeasts to produce a range of scents and flavours during fermentation - expect stone fruit, banana and tropical notes. Combine this with American hops with similar properties and you can see where this is going - although they tend to use fewer hops which leads to a less bitter finish. Expect a cloudy/hazy finish as well.
Double IPA
Take a regular IPA - and add more of everything to it. More malt. More hops. More flavour. More bitterness. More alcohol.
Triple IPA
Take a double IPA, and add even more of everything to it! These IPA's can reach 12-13% ABV - so tread carefully. These tend to be limited release styles - probably because of the huge costs involved in making them.
Session IPA
All the hop and malt flavours of an American or British IPA - but without all the alcohol to go with it. A great tasting IPA with plenty of flavour but won't leave you stumbling out the door or slurring your words after having more than a couple.
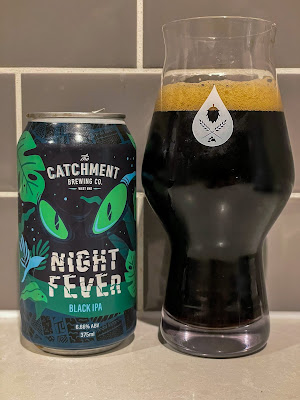
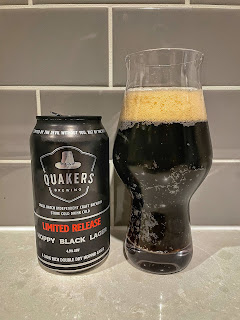
Black IPA
Also referred to as a Canadian Dark ale - some argue this isn't really an IPA at all (since the "P" in "IPA" stands for "Pale", I guess?) The general idea is to make a beer that looks like a stout, but smells like a West Coast IPA, and tastes somewhere between the two. Think full-bodied and clean, with a hint of roastiness from the dark malts, followed by a big hop hit.
Belgian IPA
An English style IPA but using a Belgian yeast. Belgian yeasts will typically add spicy, earthy, or peppery notes combined with zesty, citrus flavours.
Imperial IPA
Similar to a double or triple IPA - an Imperial IPA is another amped up version of an American IPA. Loads of hop flavour, bitterness and ABV as well (expect 9-13%)
Brut IPA
Brut means "dry" and a Brut IPA is no exception to this. Using a specific style of yeast, these IPA's achieve a dry, crisp finish. Very light in colour and have a similar appearance in the class to a glass of chardonnay.
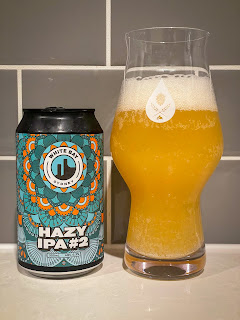
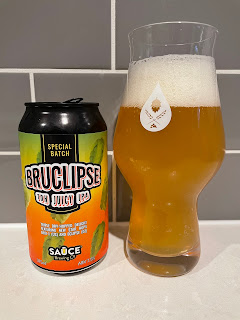
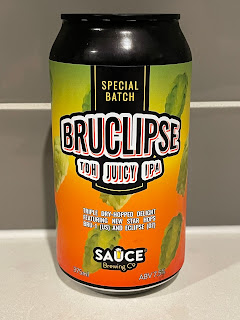
New England IPA (NEIPA)
Similar to an East Coast IPA - but with loads of hops. So much hops in fact that it's likened to juice. Very hazy in appearance with loads of fruit flavour.
Specialty IPA
This is a broad term used by the Beer Judging Certification Program (BJCP) to refer to any IPA that is not a standard American IPA. This means alot of the styles mentioned above are also considered "Specialty IPA's"
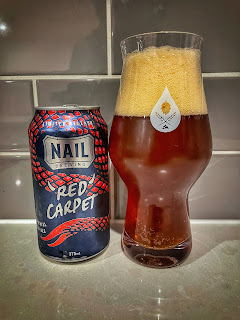
Rye IPA
A modern IPA featuring American and New World hop varieties along with spicy and sharp notes provided by rye malt varieties. Usually medium-gold to a light reddish amber colour - similar to an American Amber Ale. Why aren't they called "Rye-PA's"? Definitely a missed opportunity there.
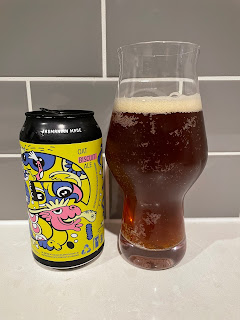
Milkshake IPA
A spinoff on the previously mentioned New England IPA (NEIPA), a Milkshake IPA is ultra hazy and brewed with lactose sugar, oats and a wide variety of adjuncts - think marshmallows or crackers. Thick, pillowly, pleasant mouth feel with a strong hop accompaniment.
Single Hop IPA
As the name suggests, this is an IPA made with a single hop variety. Used to showcase the complexity of certain hops by extracing their bittering and flavour/aroma properties in a single beer.
SMASH IPA
"SMaSH" is an acronym for "Single Malt and Single Hop" - so a Smash IPA is one created using a single malt variety and a single hop variety. Like a Single Hop IPA, a Smash IPA is used to showcase a specific malt variety and a specific hop variety. Don't let this fool you into thinking they're dull or boring though - it's amazing what brewers are doing these days with smash beers!
Fruit IPA
Not necessarily an official style but a Fruit IPA is an IPA with additional fruit adjuncts added - such as oranges, tangerines, strawberries etc. Used to accompany and backup traditional fruit flavours derived from popular new-world style hops.
Sour IPA
A relatively new style of IPA, a Sour IPA have come from hybrid and experimental styles made by craft breweries to push the boundaries and test new flavours and concepts. Typically hazy with the usual fruit-forward hop styles, they use lactobacillus for souring. Expect tart, juicy and hoppy flavours.
Wild IPA
A rare style that uses wild yeast for fermentation. Hop forward as you'd expect from an IPA, but with funky farmhouse style, spicy flavours that are derived from wild yeast varieties. Not especially popular currently but could take off in the near future as more breweries begin experimenting with new styles.