Wednesday 10 April 2024

Awesome 4Some - West Coast IPA - BrewZilla Brew Day

Our second attempt at a West Coast IPA, and finally a brew day that has gone largely to plan, with next to no problems or set backs! In some ways we've gone back to basics and what we know works well. More specifically, we've done away with our pump-operated sparging setup and gone back to good old manual batch sparging, as well as our trusty immersion chiller after repeated ongoing issues with our counter flow chiller not "flowing".

Starting out with our water and we've been using filtered tap water from the built-in filter from our fridge. We've done this for the past few batches and it does a good job of removing chlorine and chloramines, but still leaves the other minerals intact which we use as the base to build our water profile from.

It can take a while to get our mash and sparge water, and we end up using a 19L stock pot to transfer from the kitchen to the garage where we brew

We've got a fairly sizeable grain bill so we're starting out with 25L of water for the mash. Brewfather recommended 25.6 but we rounded it down to hopefully not have the BrewZilla quite as full during the mash.

We measured out our salts/minerals and added them as per the recipe. Being a heavily hopped IPA style, we've gone for an elevated level of sulfate, so plenty of magnesium sulfate and calcium sulfate

Adjusting the pH of our sparge water, which only requires around 0.5mL of phosphoric acid to get to the desired range. We add about half or so of this from a syringe and do the rest with a dropper to avoid overshooting the pH and getting it way too low, which has happened the past few times. We'd probably prefer this a bit lower, but 5.4 is still comfortably in the middle of the 'acceptable' 5.2-5.6 range.

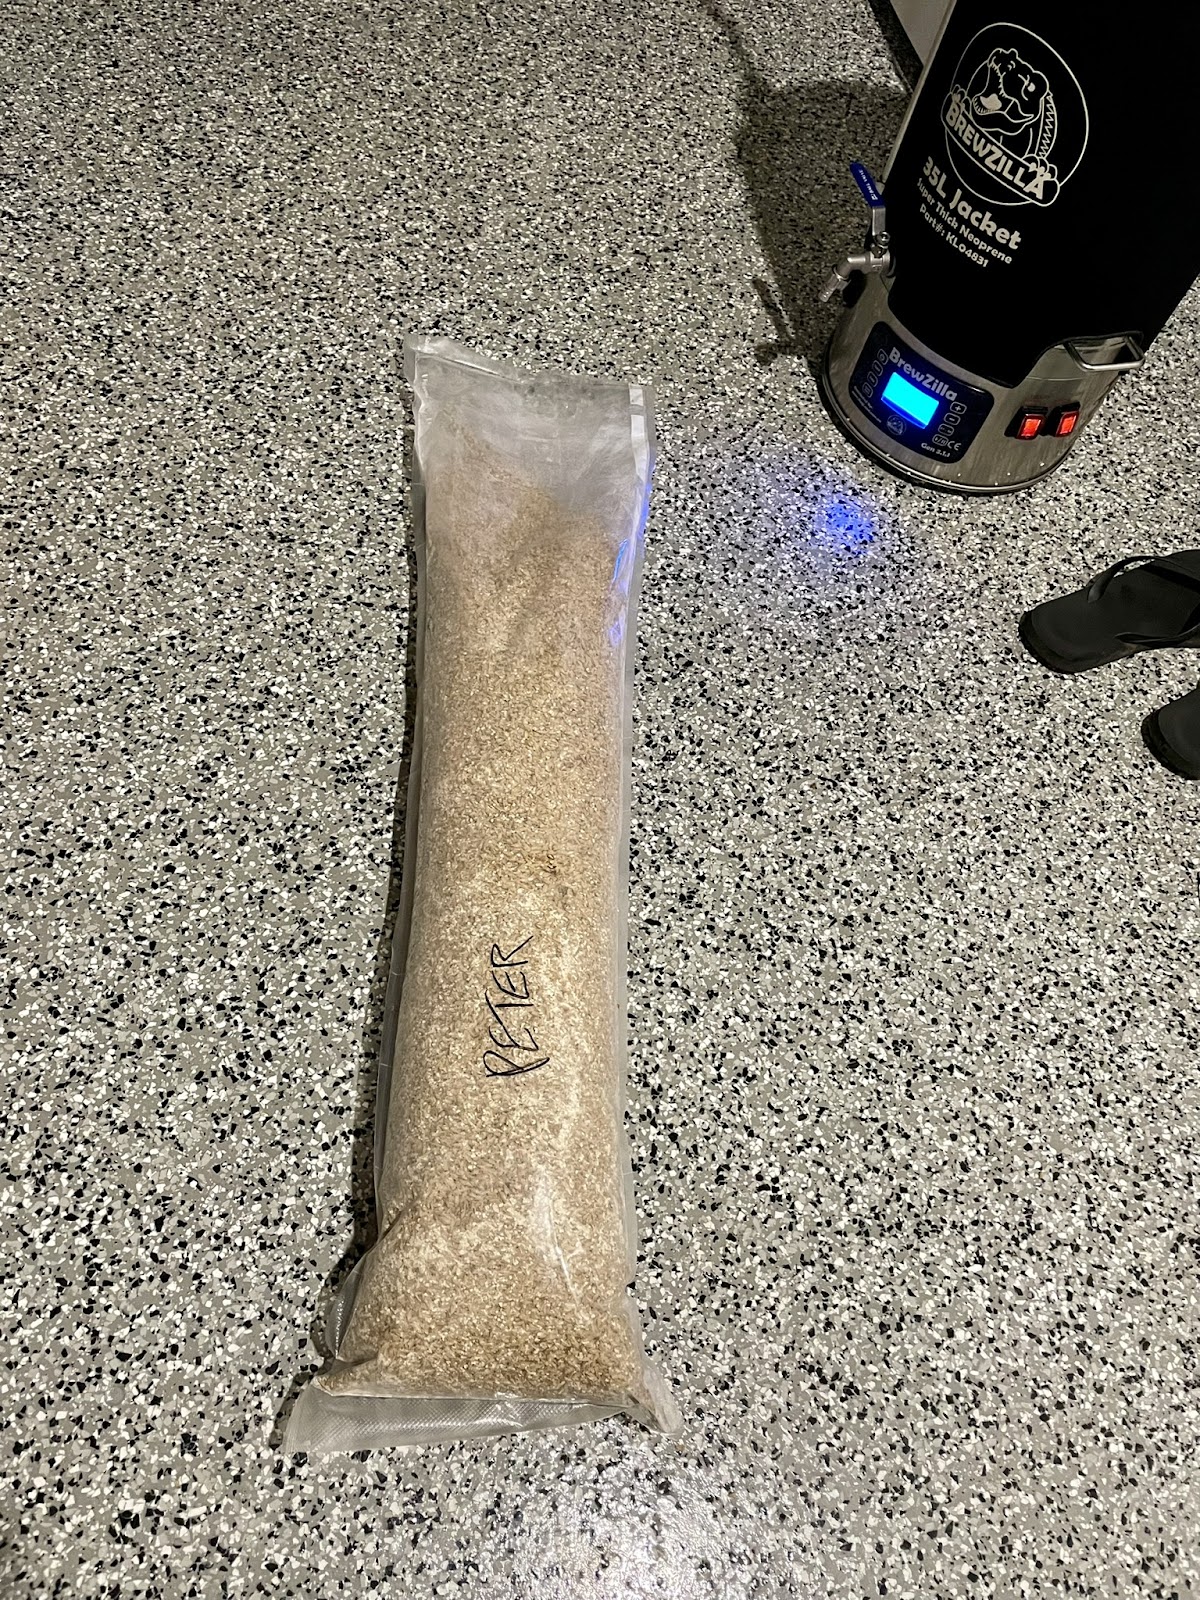
Here's the sack of milled grain - all 6.7kg worth. There was a tiny hole in the bag the led to some being spilt whilst pouring into the BrewZilla, but certainly most of it made it in there.

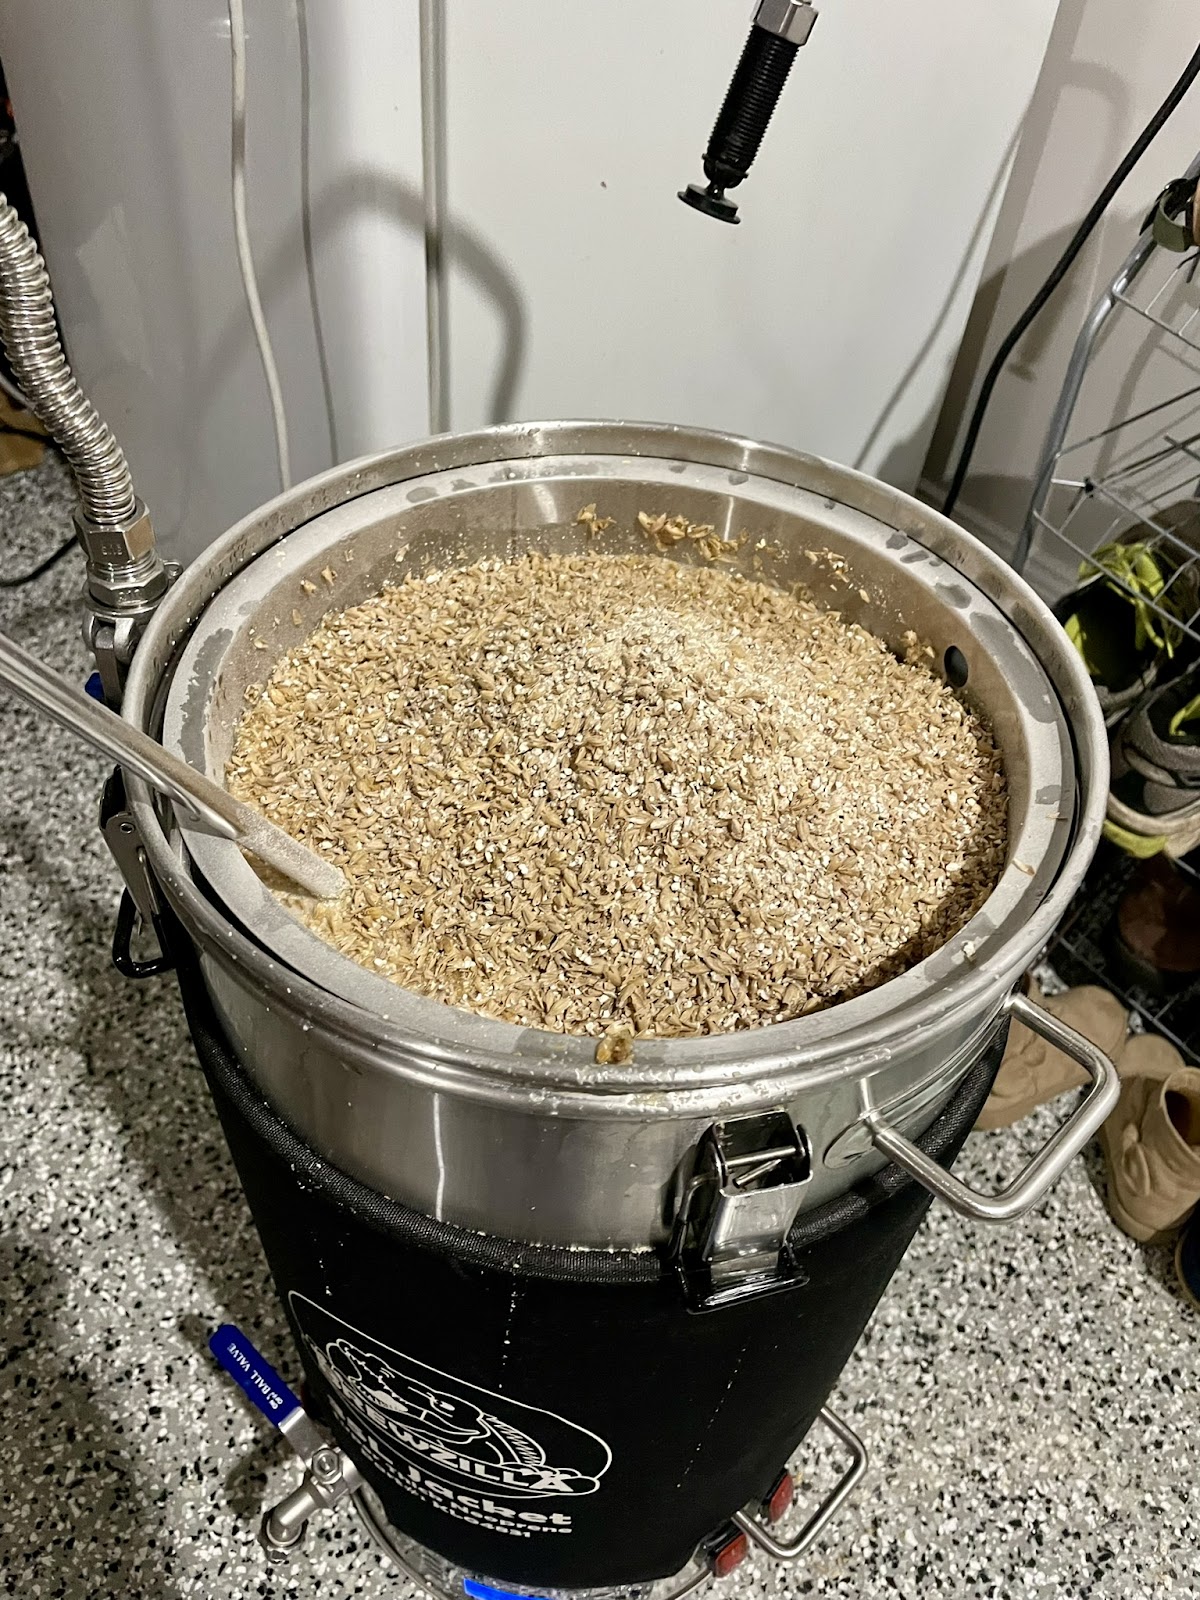
Mashing in sure took some time because of the large grain bill - we got there in the end

Fully mashed in and after quite a bit of stirring to ensure everything is wetted and hopefully avoid dough balls, we left the grain bed to settle

After leaving the grain bed for 10 minutes or so, we took our mash pH reading. 5.48 is again probably a bit higher than we would have liked, but once again, well within the acceptable range.

Mashing at 65°C we set the pump to recirculate through our sergeant sparge head and left it to do its thing. Recirculation was pretty slow and we did quite a bit of stirring to help coax everything through

After an uneventful mash of 1 hour, we raised the temperature to 75°C for the mash out then left it for 10 minutes

At this point we could see the wort really starting to run clear

We were super careful with lifting the grain basket, and then with stirring the grain bed to help the sparge water flow. In our last brew day the basket fell back into the BrewZilla and spilt hot wort everywhere - we were pretty lucky not to have suffered any serious burns when this happened.

After the sparge was complete, we took our first gravity reading of 1.060 - only a point down on what the recipe predicted

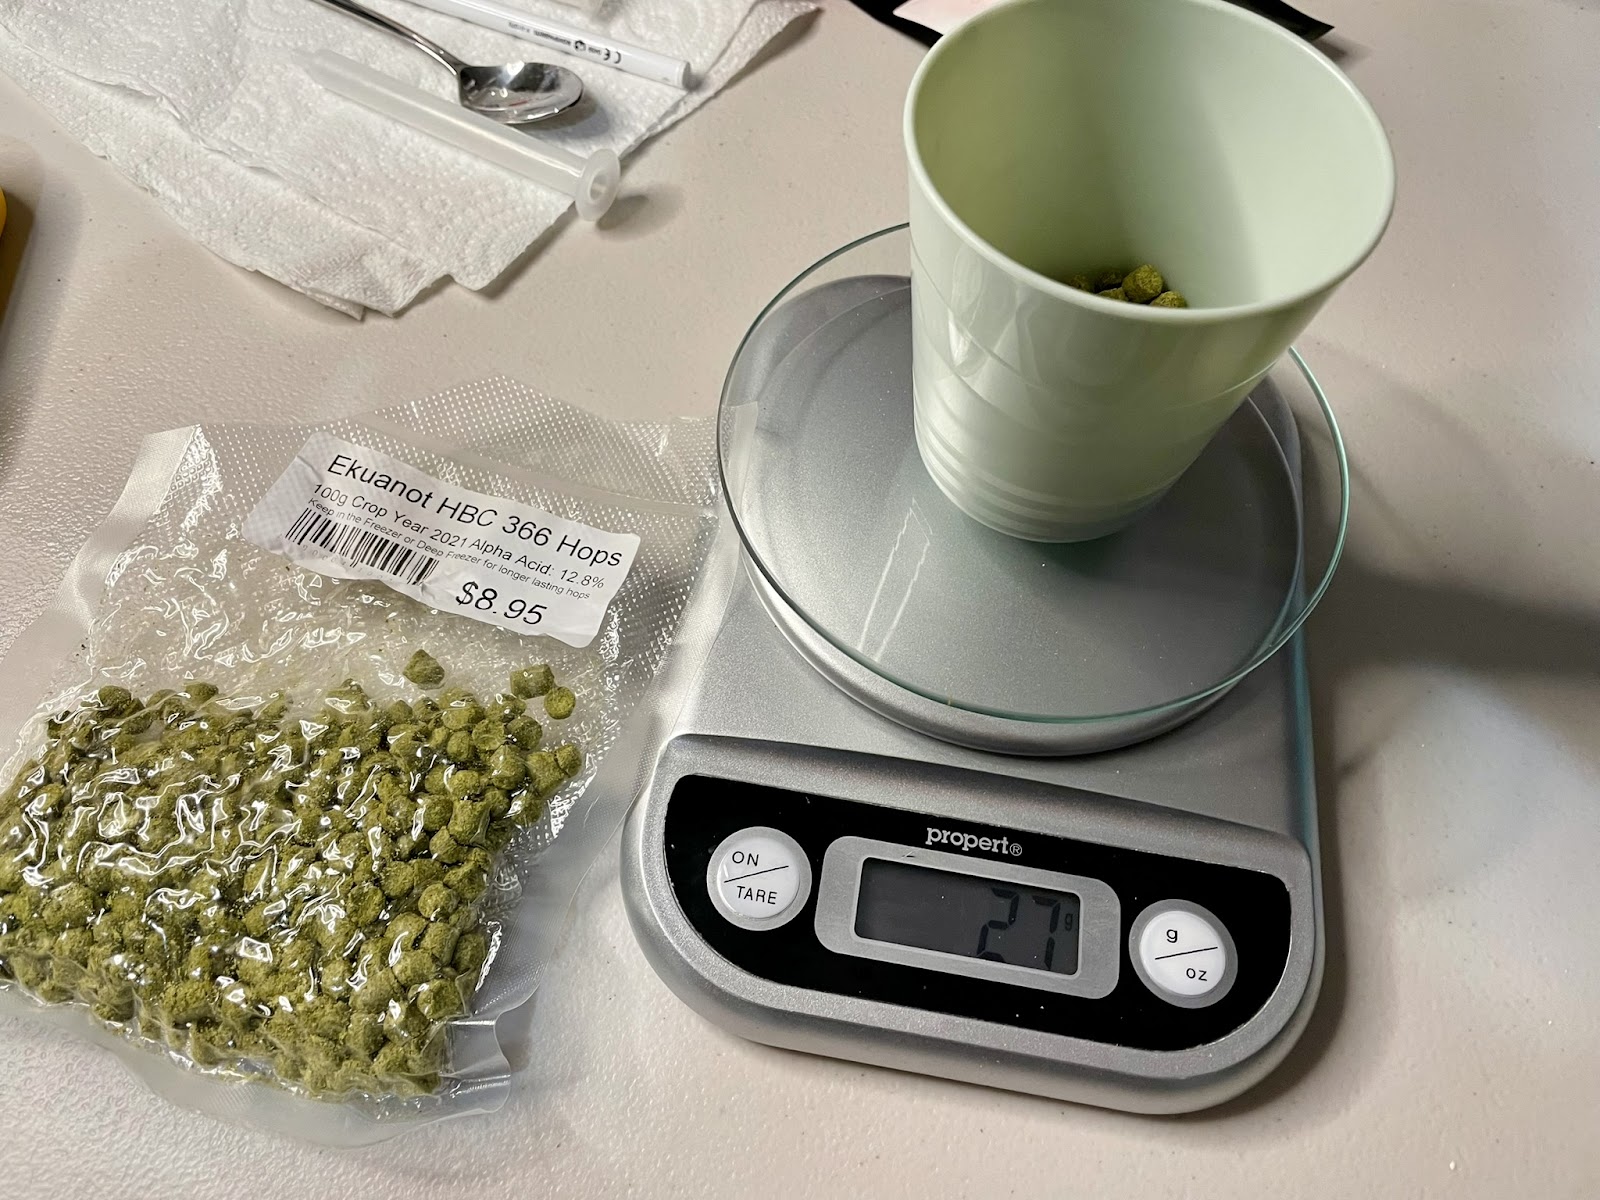
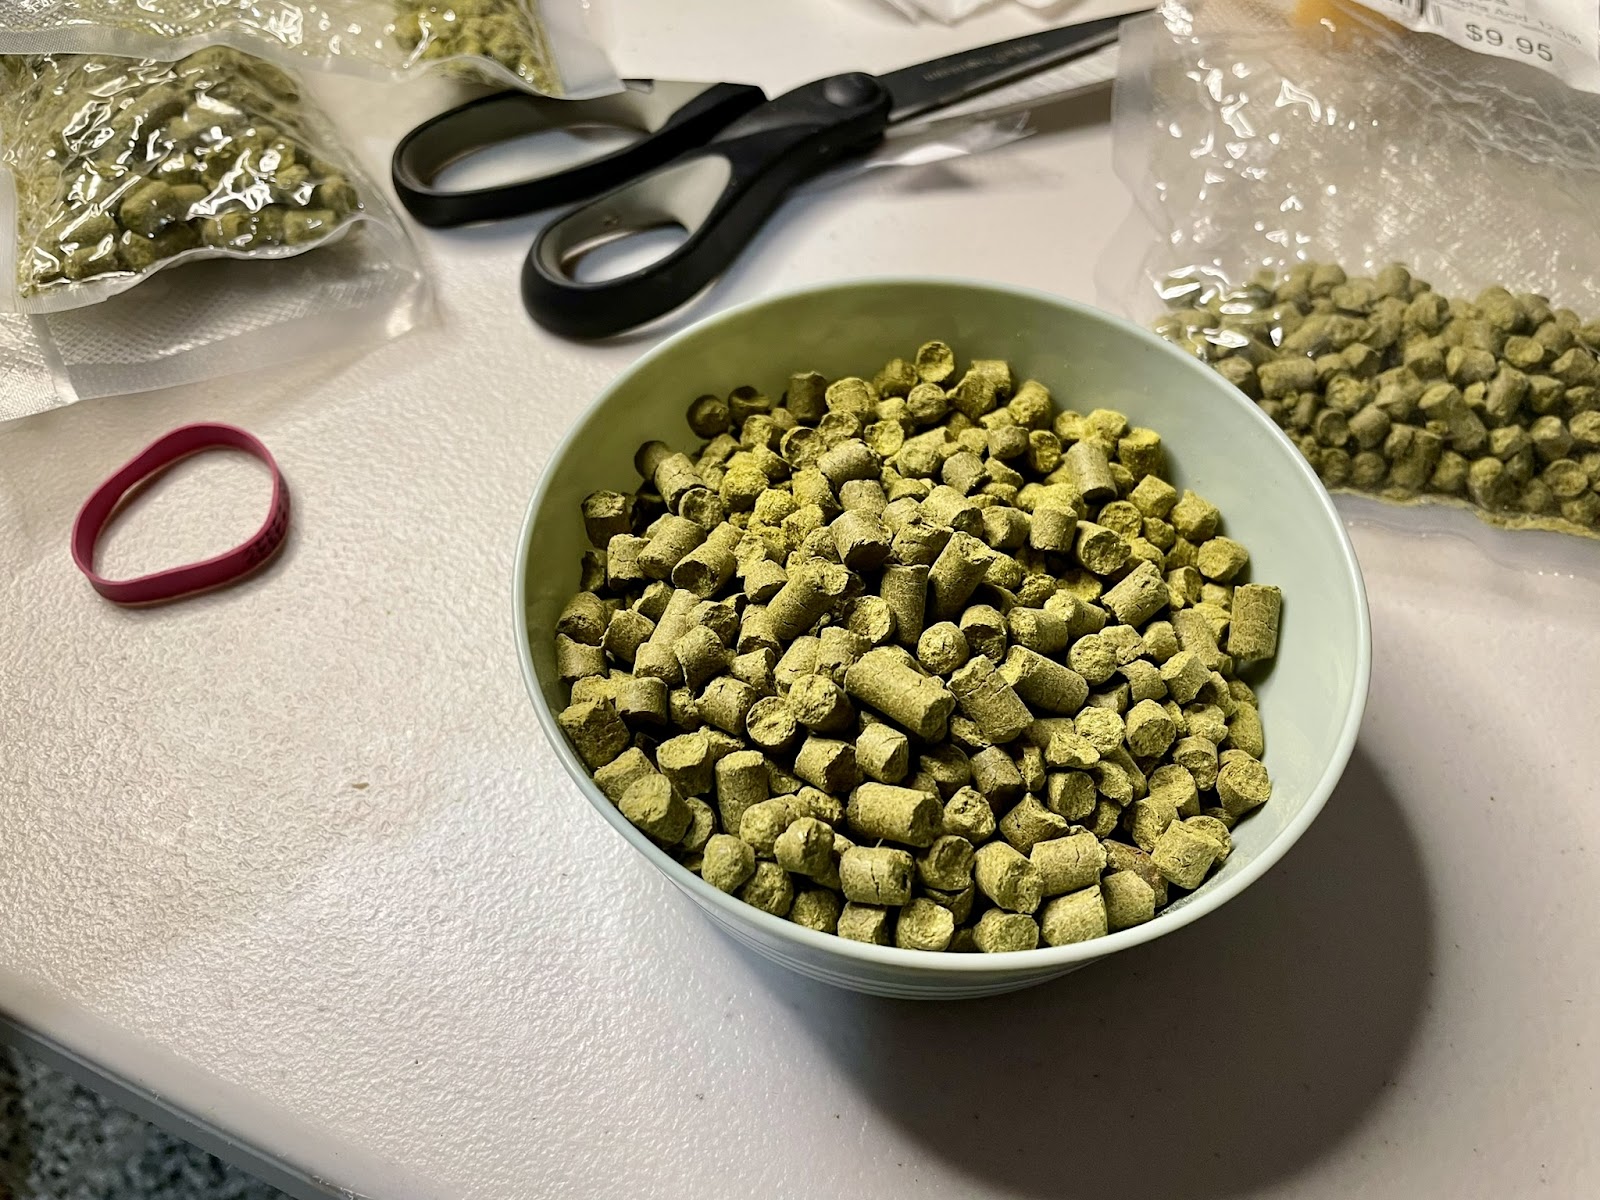
Whilst waiting for the boil to start, we began measuring out our  hop additions - starting with Ekuanot - our 30 minute boil addition. This one ranked highly in terms of hop survivability so figured it would be a good candidate for an early boil addition.

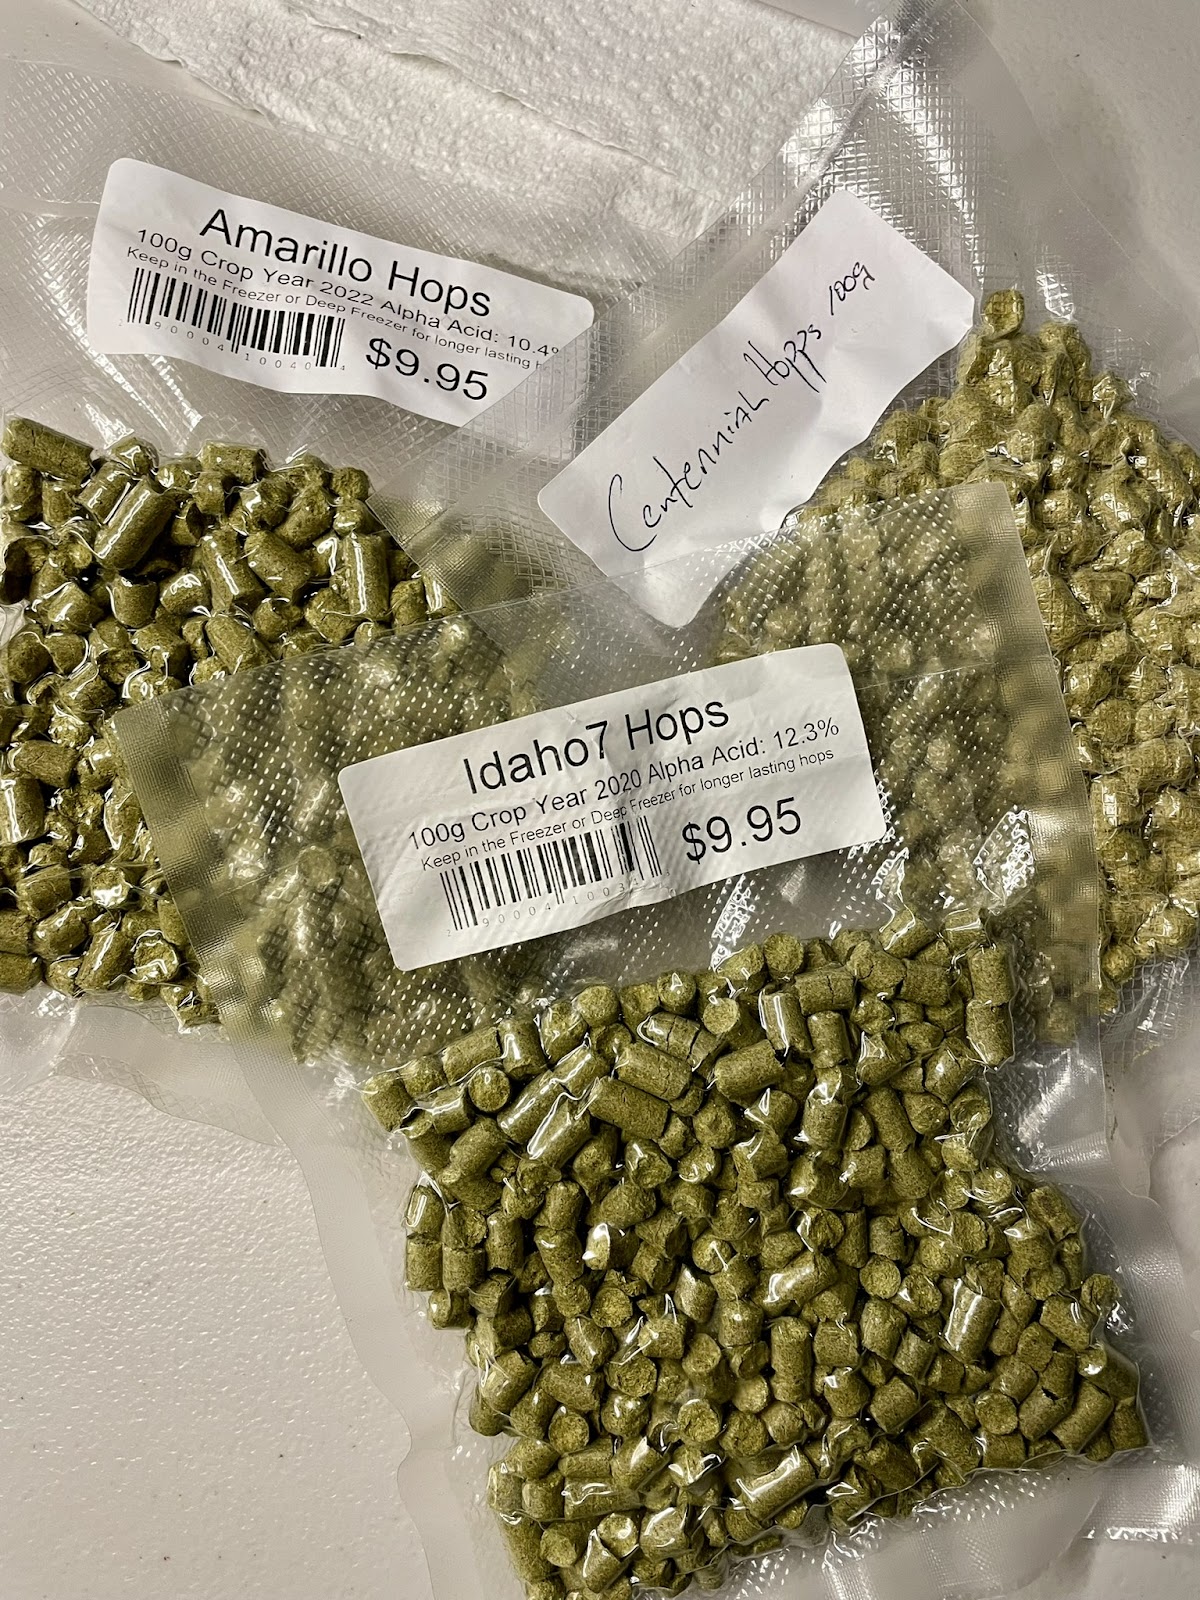
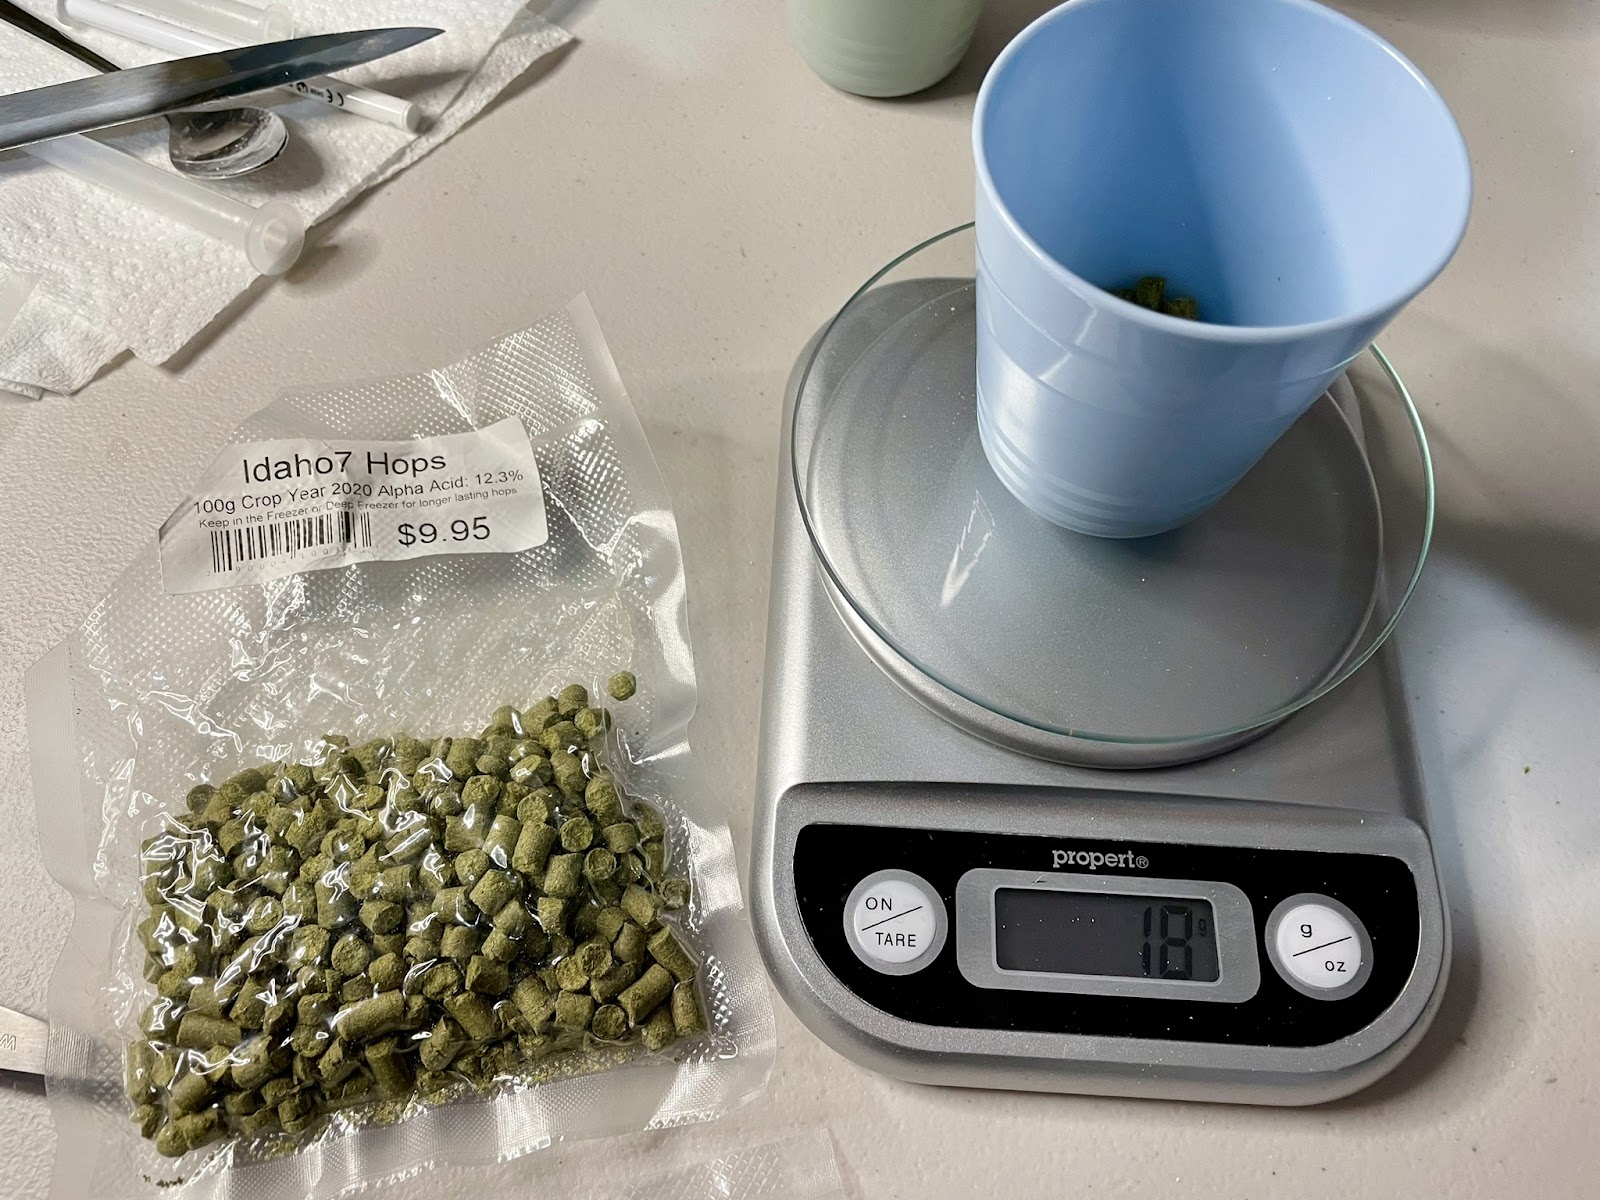
Completing the hop line up, we have Amarillo, Idaho 7 and Centennial hops. We haven't used Idaho 7 so we're keen to see what this will contribute

Nearing the boil now and we've got plenty of thick hot break forming on top - lots of stirring to prevent a messy boil over

Once the boil was underway we added our first hop addition

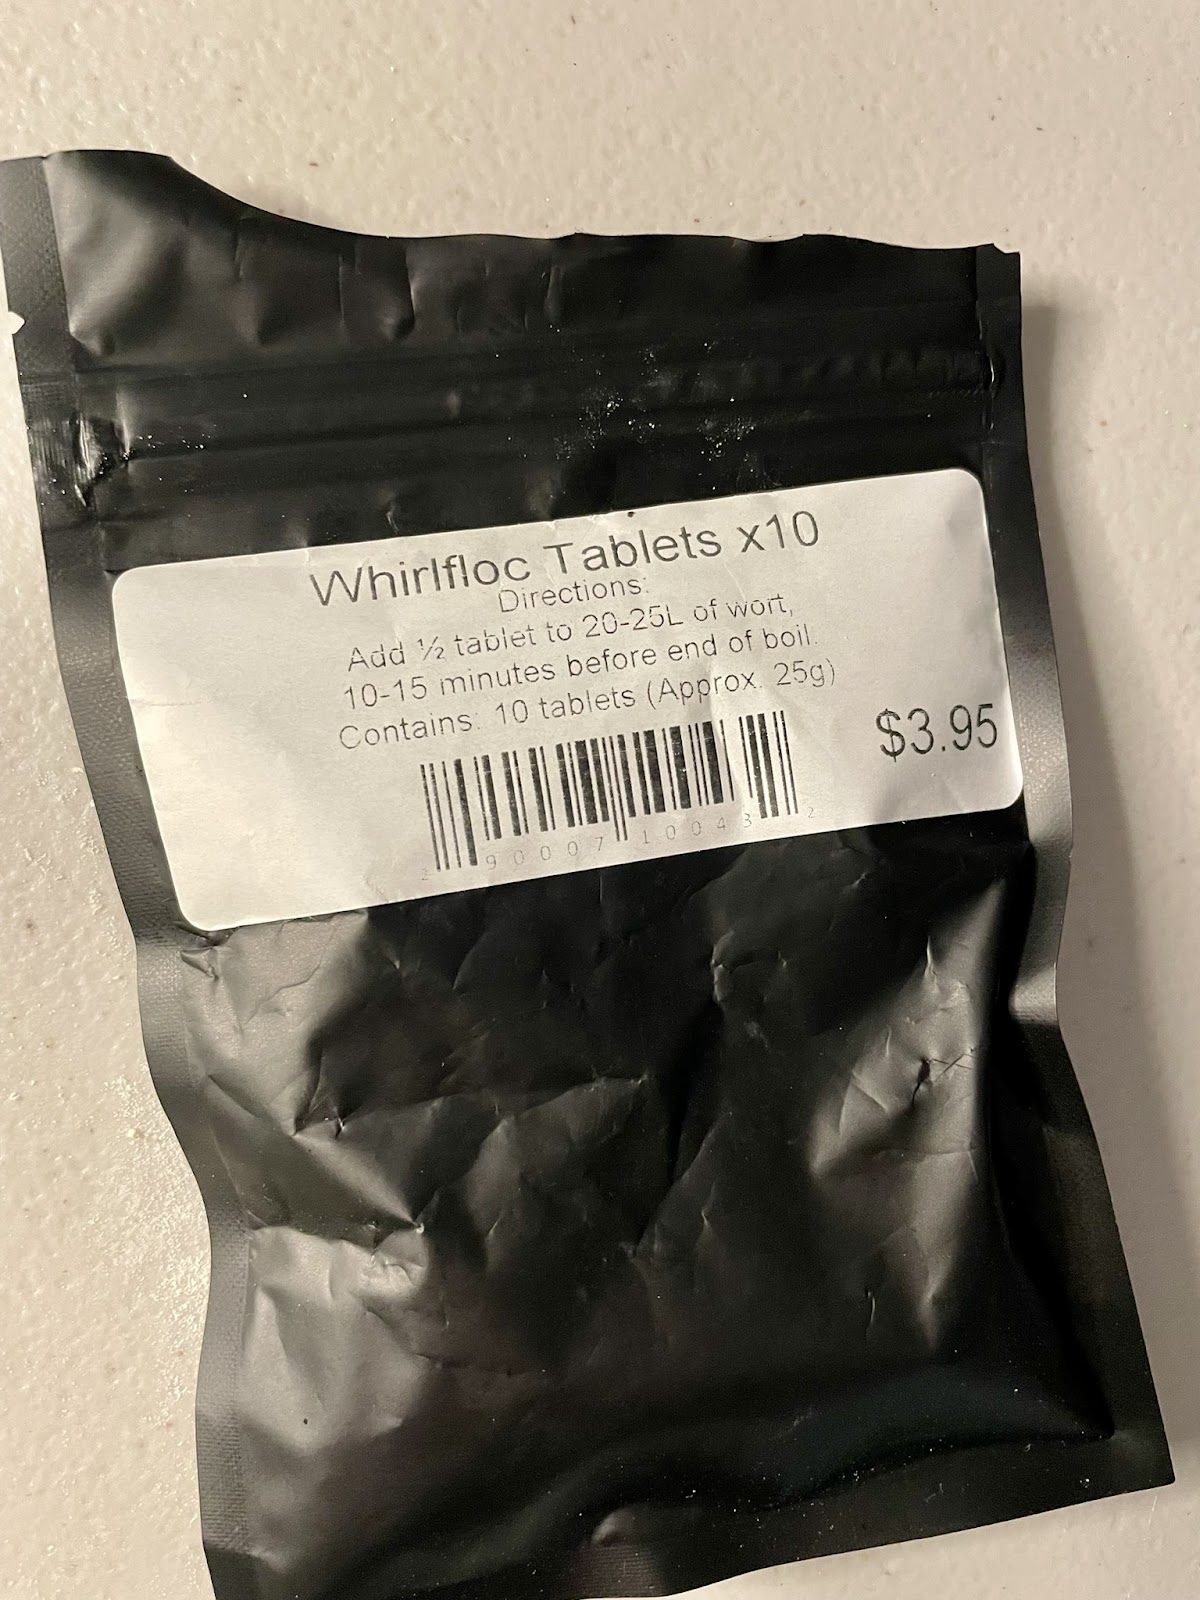
No more hops were needed until there was 5 minutes left in the boil, so we continued measuring our hops, as well as our yeast nutrient and half whirlfloc tablet

After our 5 minute addition, we then had a fairly substantial whirlpool hop addition as well

For our whirlpool hop addition we chilled the wort down to 80°C then added the hops to the hop spider and recirculated using the whirlpool arm attachment for 15 minutes

For the last few minutes of the whirlpool (hop stand) we killed the pump to leave the wort to settle out a bit, and what a difference this made!

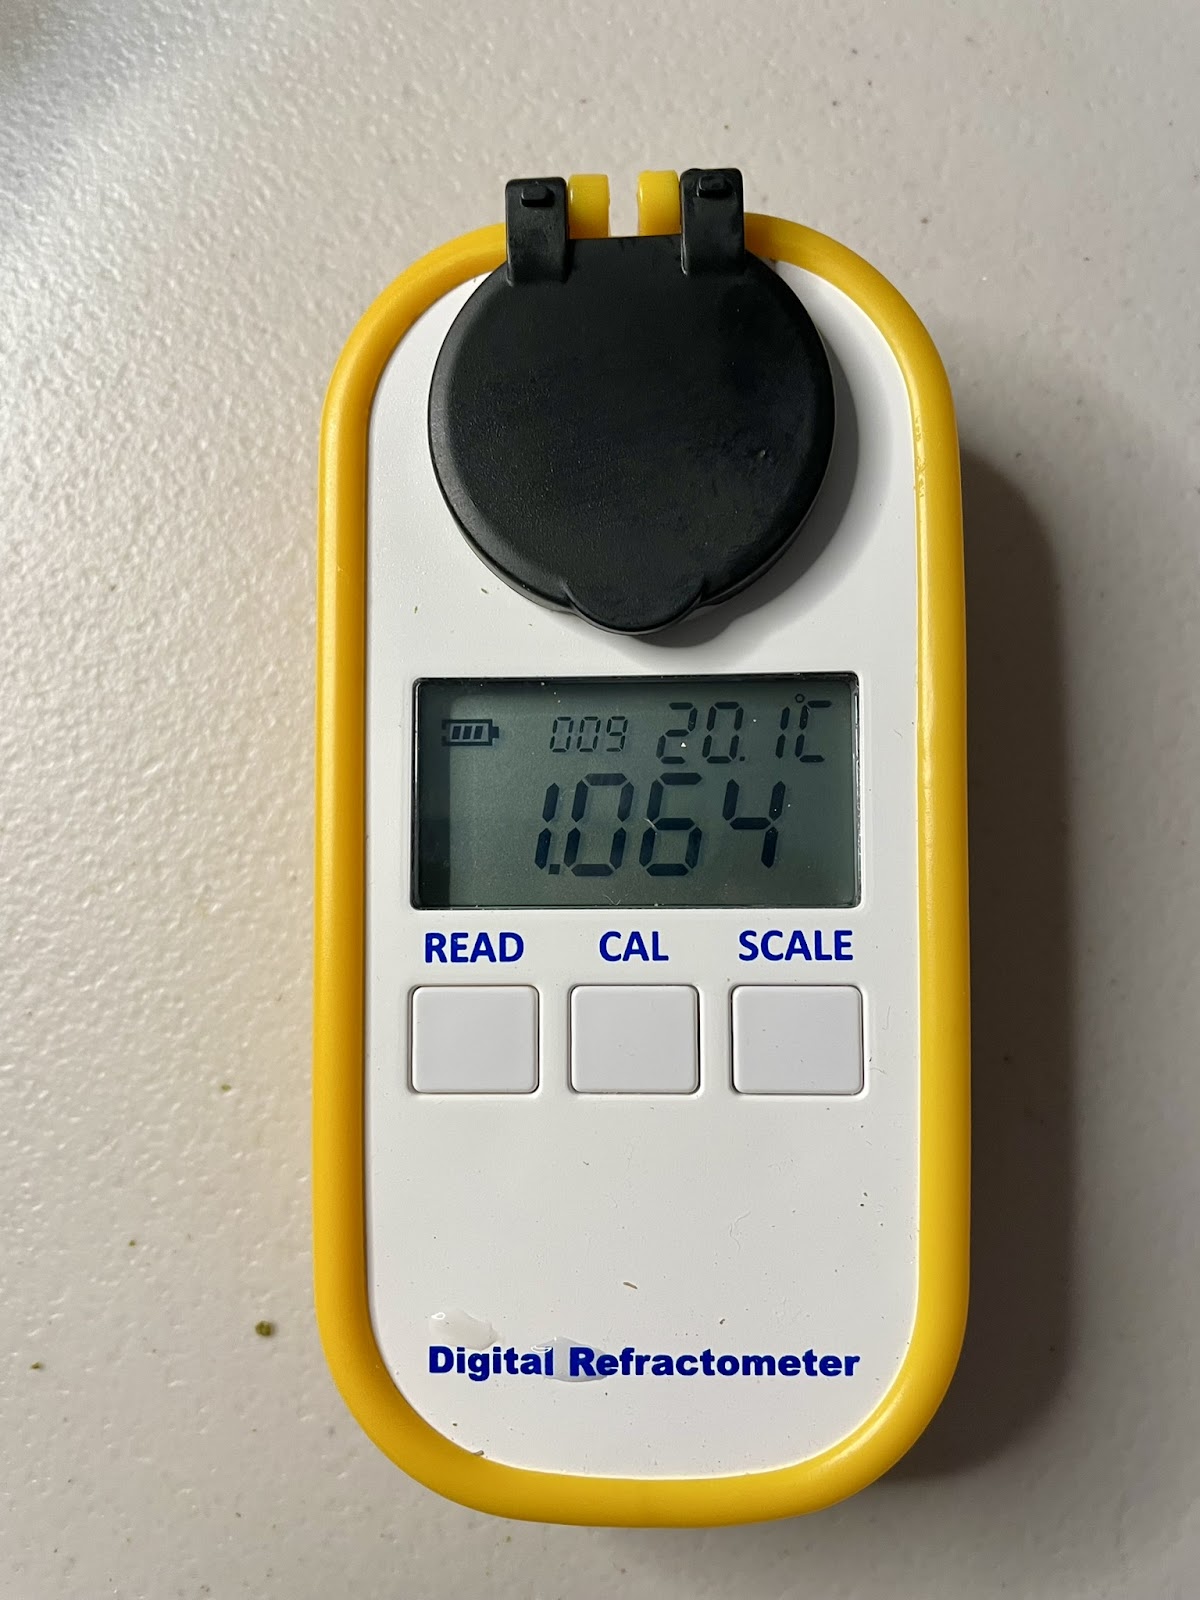
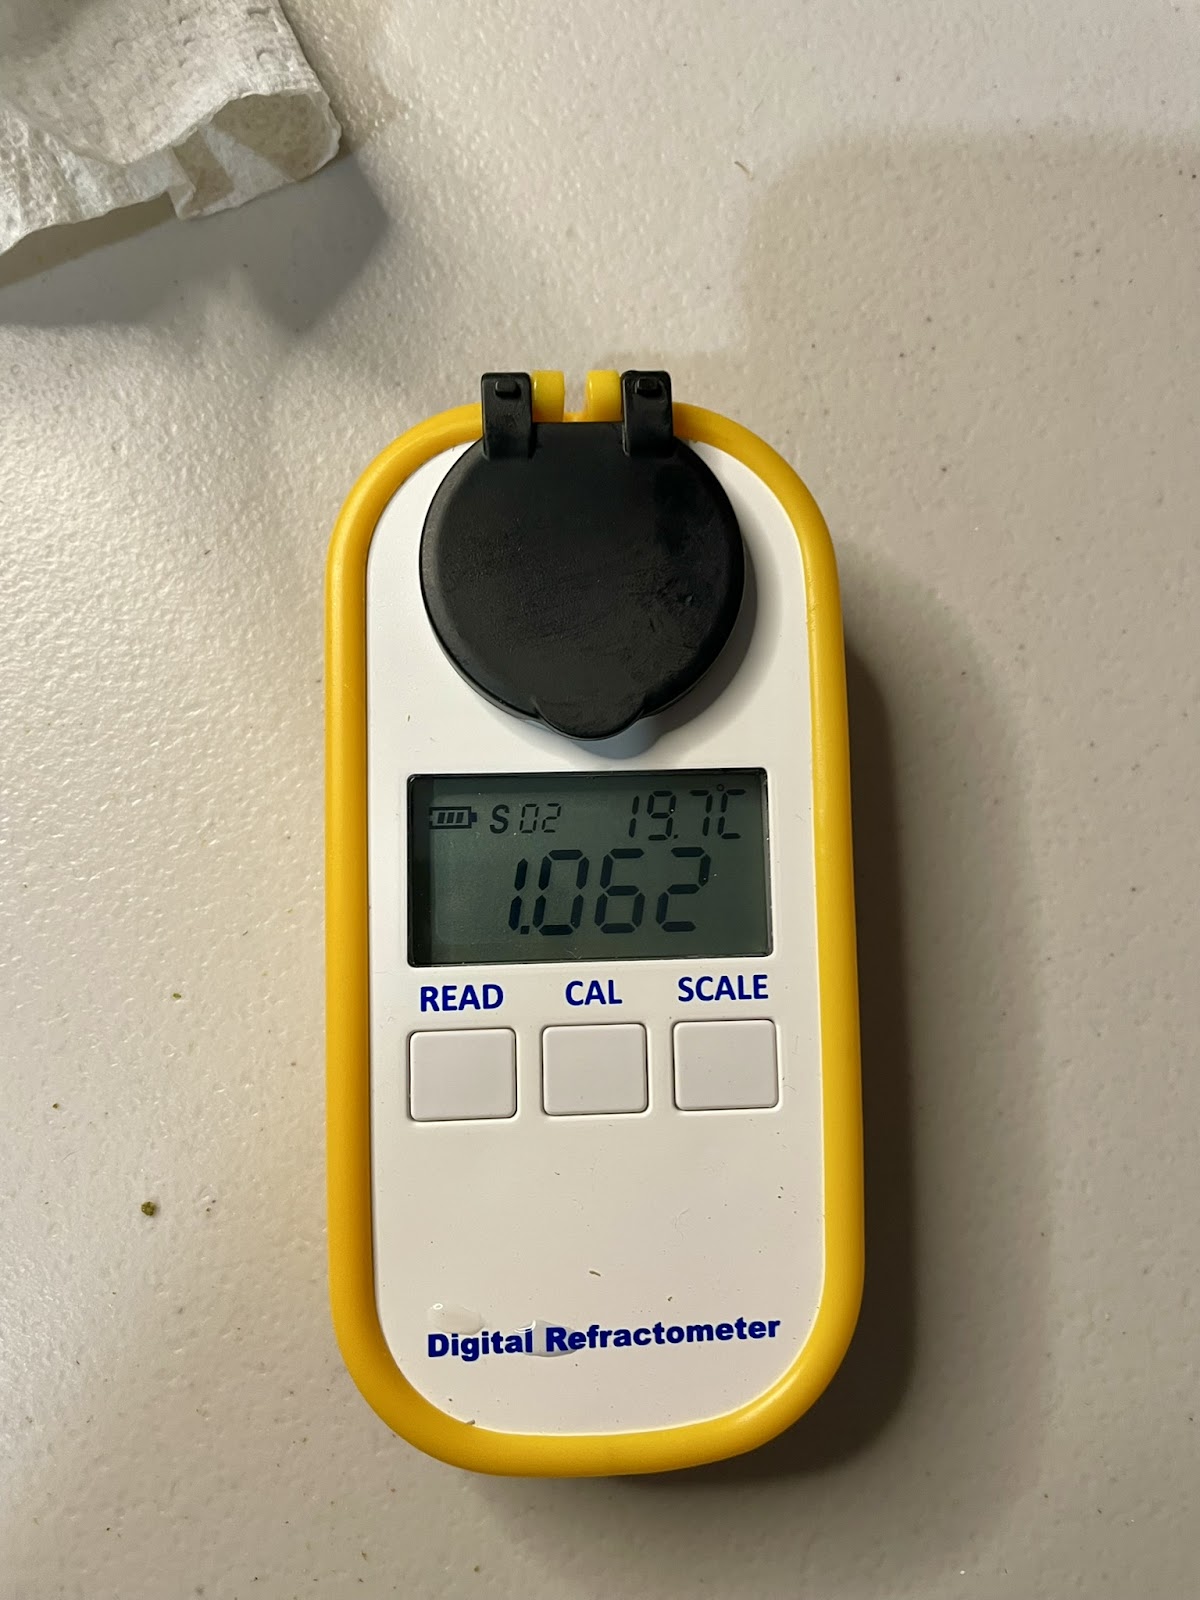
We took a couple of post boil (original gravity) readings and got 1.062 and 1.064 - based on the pre boil gravity we expected 1.063 so we'll split the difference and go with this


We've adjusted our chilling process with our immersion chiller so we now chill for 20 minutes and then transfer to the fermenter, and put the fermenter in the fridge overnight to get down to pitching temperature. We typically get to around 30°C once the fermenter is full doing it this way, so the last 10°C chilling is achieved in the fridge and we pitch yeast the next morning.

Speaking of, we pitched 2 packets of US-05 and waited for fermentation to begin


Related Articles


Friday 5 April 2024

Why Brewfather is the Best Software for Homebrewing

If you're serious about your homebrewing, you really have to be using some kind of software application to help manage the many aspects of brewing. From recipe design, to calculations, conversions and inventory management, a good piece of homebrewing software can make all these tasks so much simpler, and really are a must-have in your brewing line up.

In this post, we're going to cover the variety of reasons why we believe Brewfather is the best application for homebrewers to be using.

1. Cost

You can sign up to use Brewfather for free - although the free version does have a limitation on storing a maximum of 10 recipes/batches, and the inability to import or export data from the software. What you do get though is access to essentially all the tools and features you'll need for recipe creation. When you sign up for free you also get a free 30 day trial of the Premium version - with no strings attached. It's definitely worth signing up and checking it out for yourself.

We used the free version for quite some time, but once we hit the 10 recipe/batch limit we had no hesitation in upgrading to the paid Premium version, and have never looked back.

2. Cloud-Based

There's a number of benefits to using cloud based software. Being cloud based means that (with the exception of a mobile phone app) no software is required to be installed on your device, and all of your user data (eg. recipes) are automatically saved and backed up, to the cloud. On a PC/Mac, Brewfather is accessed via a web browser, or on an Android or iOS device there is a dedicated Brewfather app. Any changes that you make on one device are immediately visible on all other devices, meaning a seamless experience across devices. This seamless, cloud based experience means you can work on a recipe on your home computer, and then pull up that same recipe on your phone in the brewery to kick off your brew day with the latest changes being there instantaneously. 

And if your computer or mobile device gets lost, stolen, damaged or replaced, all your Brewfather data is still available to you the next time you sign in. No more messing around with saving or backing files and transferring files between devices.

The software is also being constantly improved and updated, and you'll often be prompted to update recipes using new and updated calculations that have been applied to the back end software. So besides updates through your mobile device app store, there's no more worrying about keeping PC or Mac applications up to date.

3. Device Integrations

Brewfather integrates tightly with a number of brewing peripheral devices such as the Tilt Hydrometer, iSpindel, RAPT Cloud (for the RAPT Pill & Temperature Controller), Plaato Keg, Plaato Airlock, Brewpiless, Brewtools Cloud plus many more.

As an example, we've setup integrations with our RAPT Pill and Hydrom digital hydrometers which give a nice neat graph within the software that is directly linked to a 'batch' that has been brewed which we think is awesome. Here's an example below from our recently brewed Mexican Lager - showing the gravity (red line) as well as temperature.

4. Recipe Database

There is a pretty comprehensive recipe database (Library) featuring brewing recipes for just about every beer style you can imagine. You can search the database and filter/sort by number of views, downloads and upvotes/likes.

What's more, is that if you find a recipe you like, with a single click you can download the recipe into your own library where you can go ahead and make tweaks/adjustments to it such as scaling it to your own batch size, or applying the equipment profile for your brewing setup and it will automatically adjust everything for you.

You'll also find many recipes shared from others in the brewing community (like popular brewing YouTubers) that share via Brewfather links.

5. Ease of Use

We've found the software incredibly easy and intuitive to use, meaning you don't need a computer science degree or much technical knowledge to jump in and start creating or tweaking recipes. You can make it as simple or in-depth and complex as your heart desires. 

The interface is neat, and the recipe creation process is so easy, with countless malt varieties already in the software from all the popular maltsters, with all the required values pre-populated. Just enter your weights/volumes and off you go.

It's similar for hop varieties too, with only Alpha Acid %'s really needing to be adjusted as these will vary somewhat depending on where you're getting your hops from.

There are equipment profiles for all the popular brewing systems, allowing calculations for things like boil off rates, dead space volumes, and efficiencies to be automatically applied to recipes as you're creating them.

What this means is that you're basically just filling in the blanks when creating a recipe. Enter your fermentables, hops, yeast and the software will work out the rest for you and display it in a great, easy to read format with graphs showing expected values, and highlighting whether or not they fit within the accepted range for the style of beer you're making. Tweaks can be easily made and all the values update instantly so you can see what impact each change makes.

There's also a Brew Day Tracker which can walk you step by step through your brew day, including mash and boil timers.

6. Tools

There are heaps of tools included in the software that are essential if you're looking to get the most out of your brewing software, and your brews. Things like the water calculator can help determine what brewing salt adjustments are required to hit the numbers for a desired style, something we use extensively for every batch to get our mineral content and pH values correct - and in our experience it's incredibly accurate too.

There's also other calculators for things like strike water temperature, yeast pitch rates, hydrometer temperature correction. You name it and Brewfather probably has a tool or calculator for it. So no more searching for online calculators - you've now got them all in the one spot.

Inventory Management is another great feature, which we don't currently use as we don't buy our ingredients in bulk, but w can certainly see the benefit of this for those homebrewers who do, or even for professional brewers who need to keep track of brewing ingredient inventory.

Final Thoughts

If you're not using any particular brewing software, or the software you're currently using doesn't offer all the great features we've outlined above, then it's definitely worthwhile checking out Brewfather. You can sign up absolutely free and use almost all of the features of the software to really get a feel for what it's like. We've been using the software for several years now, and have always been incredibly pleased with how well it works, and all the great features it offers. 

The Premium version is definitely worthwhile considering for around AU$30 per year once you start reaching the limitations imposed on the free version, though some may be quite happy to use the free version indefinitely, and that's absolutely fine.

Cloud based functionality, and easy to use interface and a plethora of different brewing tools make Brewfather a one-stop-shop containing everything homebrewers of all experience and skill levels would possibly need to get the most out of their brew days.


Related Articles


Tuesday 2 April 2024

Mexican Lager - Tasting Results & Review

Our Mexican Lager has now been in the keg for several weeks, and although a lagering period isn't typically required when using NovaLager yeast, it has certainly benefited from a bit of maturing time to clear up visually, and to round out some of the flavours.

Appearance

Unsurprisingly, we've got a super-light coloured beer with a pale straw colour. Featuring mostly pilsner malt, along with a bit of instant polenta (cornmeal) and some chit malt, this looks exactly how it should. It seems to be getting clearer with each passing day, so there's still a tiny bit of chill haze in the glass, but since we only used some whirlfloc in the boil and no other fining agents, we're fine with this.

Aroma

There's a bit of that traditional yeast character on the nose, but otherwise in terms of aroma it's fairly neutral with only a small amount of hop and malt aroma being noticeable.

Flavour

Our Mexican Lager tastes exactly how we think it should. A really neutral malt base, with hints of bread and cracker, followed by that classic subtle corn taste you get in other classic Mexican beers like Corona. Bitterness is very low making it very easy to put more than a few of these away in quick succession - you wouldn't really know it's a full strength beer just by tasting it. The low bitterness level means it pairs extremely well with a slice of lemon or lime too.

Final Thoughts/Conclusion

We keep surprising ourselves a bit with how relatively easy (and cheap) lagers are to make, and how great the results can be. They really aren't as difficult as some homebrewers make them out to be, so long as you've got some decent processes in place. Adding simple adjuncts like instant polenta negate the need for things like cereal mashes when using other corn based adjuncts, although we'd be interested to see how much of a difference a decoction mash could make to add a bit more complexity to the flavour profile - though this isn't something we've ever attempted. Yeasts like NovaLager also make the fermentation process much faster and easier, by being able to ferment at warmer temperatures, and without the need for extended lagering periods before being ready for consumption. We had ours kegged within 2 weeks, but it really hit it's prime after another week or so in the keg. Still, 3 weeks from brew to peak flavour is pretty fast, particularly for a lager.

The only thing we'd consider changing if we were to brew this one again would be to try a decoction mash, but otherwise we'd keep everything else exactly the same.

Related Articles