

Introduction
If you're new to kegging your beer, this will no doubt be one of the first questions you'll ask. There's a short answer and a long answer to this question, so let's jump in and discuss what the ideal pressure is to set on your CO2 regulator for serving beer from your kegerator system.
Short Answer
The short answer is around 10-12 psi - this will generally be a safe level to use for most beer styles and will be a good starting point for most kegerator systems.
Long Answer: It Depends
The long answer is "it depends". Here's why.
You need to "balance" your kegerator system and there are a number of variables that need to be worked out in order to accomplish this. The serving pressure you set and use will be the same as the carbonation pressure required to achieve the level of carbonation or fizziness you want in your beer.
Don't stress though, it doesn't matter if you get this wrong at first - you won't ruin anything - an overcarbonated beer/keg can be corrected, just like an undercarbonated one can as well - you will need to make adjustments along the way, and understanding what you need to adjust and how will make this process much easier.
Understanding Carbonation
Firstly, the amount of carbonation (ie. carbon dioxide - CO2) that is dissolved into your beer (or other beverage) to make it fizzy is referred to as volumes of CO2. A popular carbonation level for most ales and lagers is around 2.4 volumes of CO2 so this is a good starting point for many popular homebrew beers. A quick google search for your desired beer style will give plenty of results on what the recommended carbonation levels are.
It's also important to understand that the amount of carbon dioxide that can be absorbed into your beer is dependent on what temperature the beer is at. CO2 is more easily/readily absorbed at colder temperatures. So you will need to know what temperature the beer is sitting at in your kegerator.
Using Carbonation Charts
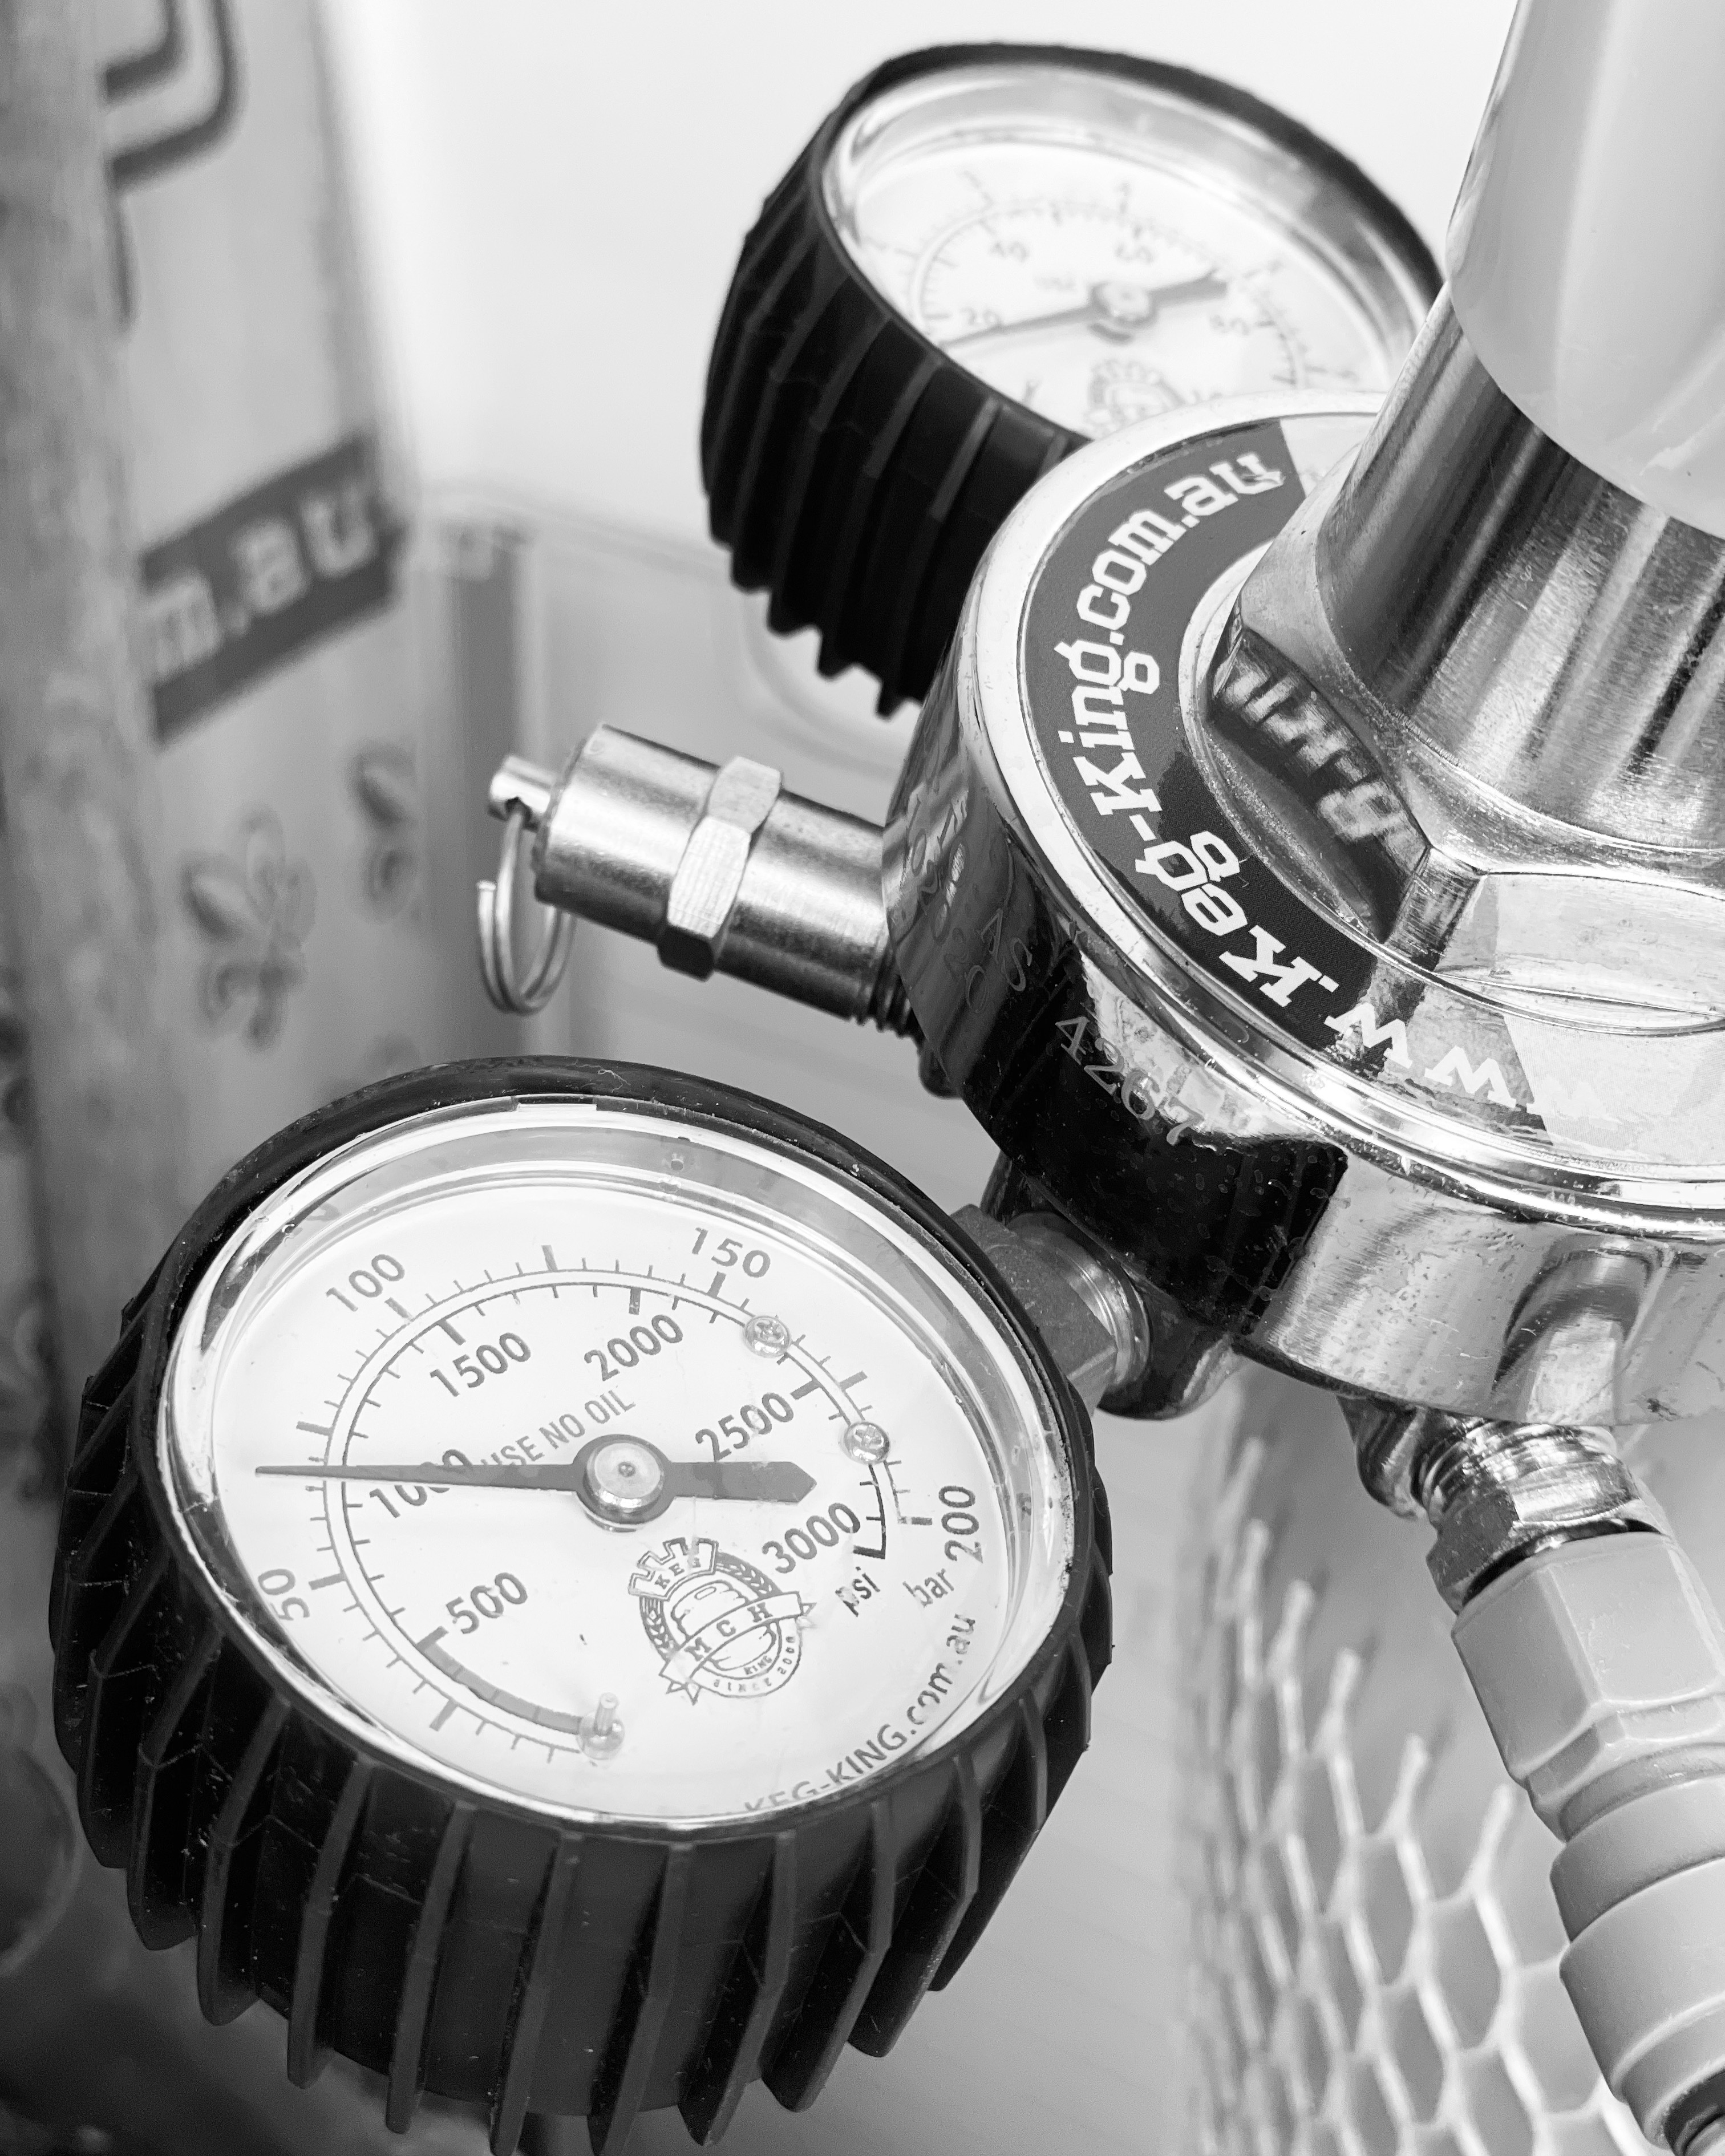
This is all perhaps confusing and a little daunting, but thankfully there's wonderful things called carbonation charts that give you a table to map out your beer temperature, desired volumes of CO2 and will then give you a target pressure to set your gas regulator to. As previously mentioned, the pressure you use to carbonate your beer will be the same pressure you use to serve.
Here's a carbonation chart from Keg King. You can click the image below to make it larger and easier to read.
 |
| Keg King Carbonation Chart |
As an example of how this works - let's say we want our beer carbonated to 2.4 volumes of CO2. And the beer in our kegerator is sitting at 3 degrees Celsius. If we match up the column for 2.4 volumes of CO2 with the row of 3 degrees celsius, we are presented with a value of 10.2 (psi). So this is the pressure we would set on our gas regulator.
Beer Line Length
There is one final piece to the puzzle though - and that is the length of your beer line - ie. what connects your beer keg to your beer tap. Even if you set your gas pressure correctly as per a carbonation chart, you may still pour beers that are too foamy or overcarbonated if your beer line length isn't long enough. This is because your beer line needs to provide some flow resistance to stop the CO2 from rapidly coming out solution whilst travelling down the line. Too much CO2 coming out of solution too rapidly is what causes foaming and is caused by the beer line not being long enough (assuming that the carbonation/keg pressure has been set correctly).
So how much beer line do you need? Once again, it depends, this time on the internal diameter (ID) of the beer line you are using. We use 4mm ID beer line and use just over 2m. For 5mm ID beer line you'll need around 4m. Start with a longer length and trim small parts off till you find the right length.

Flow Control Options
Lastly, there is the option of flow control beer taps and beer disconnects that can help provide this resistance in your beer line instead of, or in conjunction with your beer line length. They aren't something we've used ourselves but they're definitely worth mentioning.
Step-by-Step Guide to Balancing Your Kegerator System
Confused? Hopefully not, but here's a step by step guide on how we'd recommend you setup and balance your kegerator system.
- Look up the carbonation level measured in volumes of CO2 for the type of beer you are serving. If you're not sure, start with 2.4.
- Measure the temperature of the beer stored in your kegerator - you can set the temperature on the display of many modern kegerators, or otherwise leave a thermometer in the fridge for an hour and see what it reads.
- Lookup the pressure you need to set based on these two values - use the carbonation chart featured in this article above.
- Set the pressure on your regulator accordingly and connect to your keg(s). If your keg has more pressure than this value - shutoff the gas outlet from your CO2 bottle, and pull the PRV on your regulator or keg to purge the excess gas, then re-open the outlet on your bottle so the correct amount of pressure is applied to the keg(s).
- If your beer is not already carbonated, then you'll need to leave it connected to your gas source for several days in order for carbonation to occur. Make sure your beer is fully carbonated before proceeding.
- Connect your beer tap to your keg using a length of beer line. If you're using 4mm ID beer line, start with 2.5m. If you're using 5mm ID beer line, start with 4.5m.
- Now the fun part. Pour yourself a couple of beers. The first may be a little more foamy because of the temperature differential between your beer and the tap as it passes through so do a couple to get a true/accurate idea.
If it's too foamy, double check your temperature and pressures. If they're all good, you will need to increase your beer line length.
If it's too flat or undercarbonated, trim 10cm off the beer line and try again. Repeat until you pour beers with the right amount of head/carbonation.
Related Articles


No comments:
Post a Comment