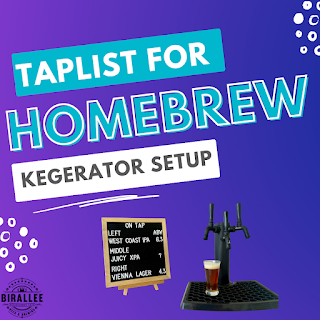
We're always looking for ways to evolve or improve things in our homebrewing setup, which can be anything from the actual brewing aspect all the way through to serving. In this post, we're going to take a look at our latest purchase to display the taplist for our homebrew kegerator setup.
Introduction
We've previously documented our 3D printed decals and decal holder which we loved, but due to a change in employment, we no longer have access to a 3D printer like we did previously. First world problems, right? We can't really justify the expense of purchasing our own 3D printer at this point, so we started looking into other options to display what's on tap in our outdoor kitchen kegerator setup.
 |
| Our previous tap display using 3D printed decals and a custom holder for them |
The Letter Board
We ended up settling on this felt letter board. We're certainly not the first to use one of these for this purpose, but they really do offer a number of benefits and very few drawbacks. Let's go through them now.
 |
| Our felt letter board showing what's on tap |
Cost and Availability
These letter boards are everywhere on websites like Amazon and eBay, and are pretty cost effective. We paid less than AU$25 for ours including delivery.
What's Included
Here is what is included in the letter board kit that we purchased;
- 10" (25cm) square letter board with timber frame, and felt backing
- Easel style stand
- 340 characters
- Bag to store letters in
Build Quality & Setup
Unsurprisingly, the build quality was far from perfect, with some fairly rough edges - particularly on the letter board frame as you can see below. Hitting it with a bit of sandpaper could clean it up pretty well if you could be bothered.
 |
| Some rough edges on the frame |
The easel stand works ok, but does occasionally collapse, with only a single wing nut holding the two pieces together. The timber is quite soft, so fastening the nut even tighter just seems to compress the timber rather than actually tightening anything.
The letters themselves have a few burrs and imperfections as well, which you can also see in the image above. But even with these, they're still clear and legible. A sharp stanley knife and a bit of time and they could be cleaned up if you were really worried about (which we are not).
Ease of Use
Arguably one of the biggest benefits here is how easy it is to use. The letters simply stick into the horizontal slits on the board which holds them in place. You quickly learn how to get the spacing right, and we tried a couple of different layouts before settling on the one you can see in the pictures in this post.
One of the more time consuming parts was breaking each of the 340 characters off the mold that it comes with, which involved lots of patience and a pair of scissors. A stanley knife may be a better option for this part to help reduce the left over bits from where the characters attached to the mold (which is the result of some of the previously mentioned imperfections).
Size
These letter boards are available in a number of different sizes. For our triple tap setup, this 25cm square option is ideal and fits all the information we want perfectly. If you had more than 3 taps you'd almost certainly have to go for a bigger size.
Conclusion
Compared to our previous 3D printed decals, updating the taplist with the letter board is a breeze and takes significantly less time. We do miss not being able to keep a "momento" of each brew like we could with the decals we made for each batch previously, however the ease of use with the letter board is undeniable.
They're cheap, super easy to find, and although the build quality is not perfect, for what we want to use it for it suits us just fine and we're very happy with it.
If you're looking to buy one, we'd recommend getting one that comes with some sort of stand, as we think it makes them look a little better than if they were just leaning up against a wall.


.png)


No comments:
Post a Comment