
.png)
The process for brewing beer is a combination of many steps - and brewing high quality craft beer akin to what you can buy from commercial craft breweries is the culmination of doing many of these many steps right. For us this was always the goal when we started brewing our own beer - to make something that to us tasted just as good as what we could buy from a craft brewery.
Here are the top 10 things we've found that have drastically improved the quality of our homebrews (in no particular order);
1. Adjusting your water chemistry

2. Adjusting your water pH
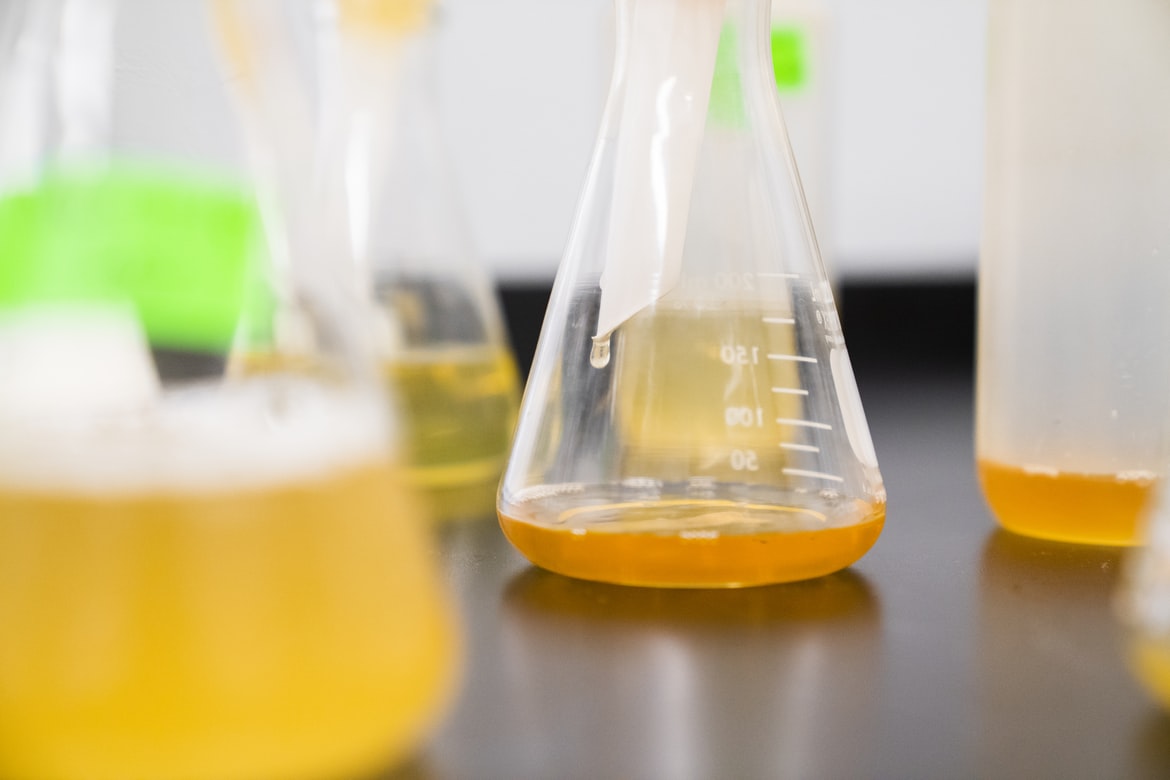
This could arguably be included in point 1 for water chemistry but we felt it needed it's own dedicated spot. We initially started with only adjusting water chemistry and neglected pH levels, which saw us extracting way too many tannins from our grains which lead to enhanced grainy flavours and astringency in the final beer. Get yourself a pH meter and adjust your mash and sparge water using food-grade phosphoric acid so both are in the ideal range of 5.2 - 5.6. As mentioned above, leverage the power of brewing software like Brewfather to help with the calculations - even the free version has the water calculator feature!
3. Go All-Grain

In our opinion you're never going to get a beer that fully replicates the quality and flavour profile of a commercial craft beer by using malt extracts. All commercial beer is made using the all grain method and there's a reason for this - it's just better. If you can get your hands on a fresh wort kit then try fermenting one of these to see the difference for yourself.
4. Fermentation Temperature Control
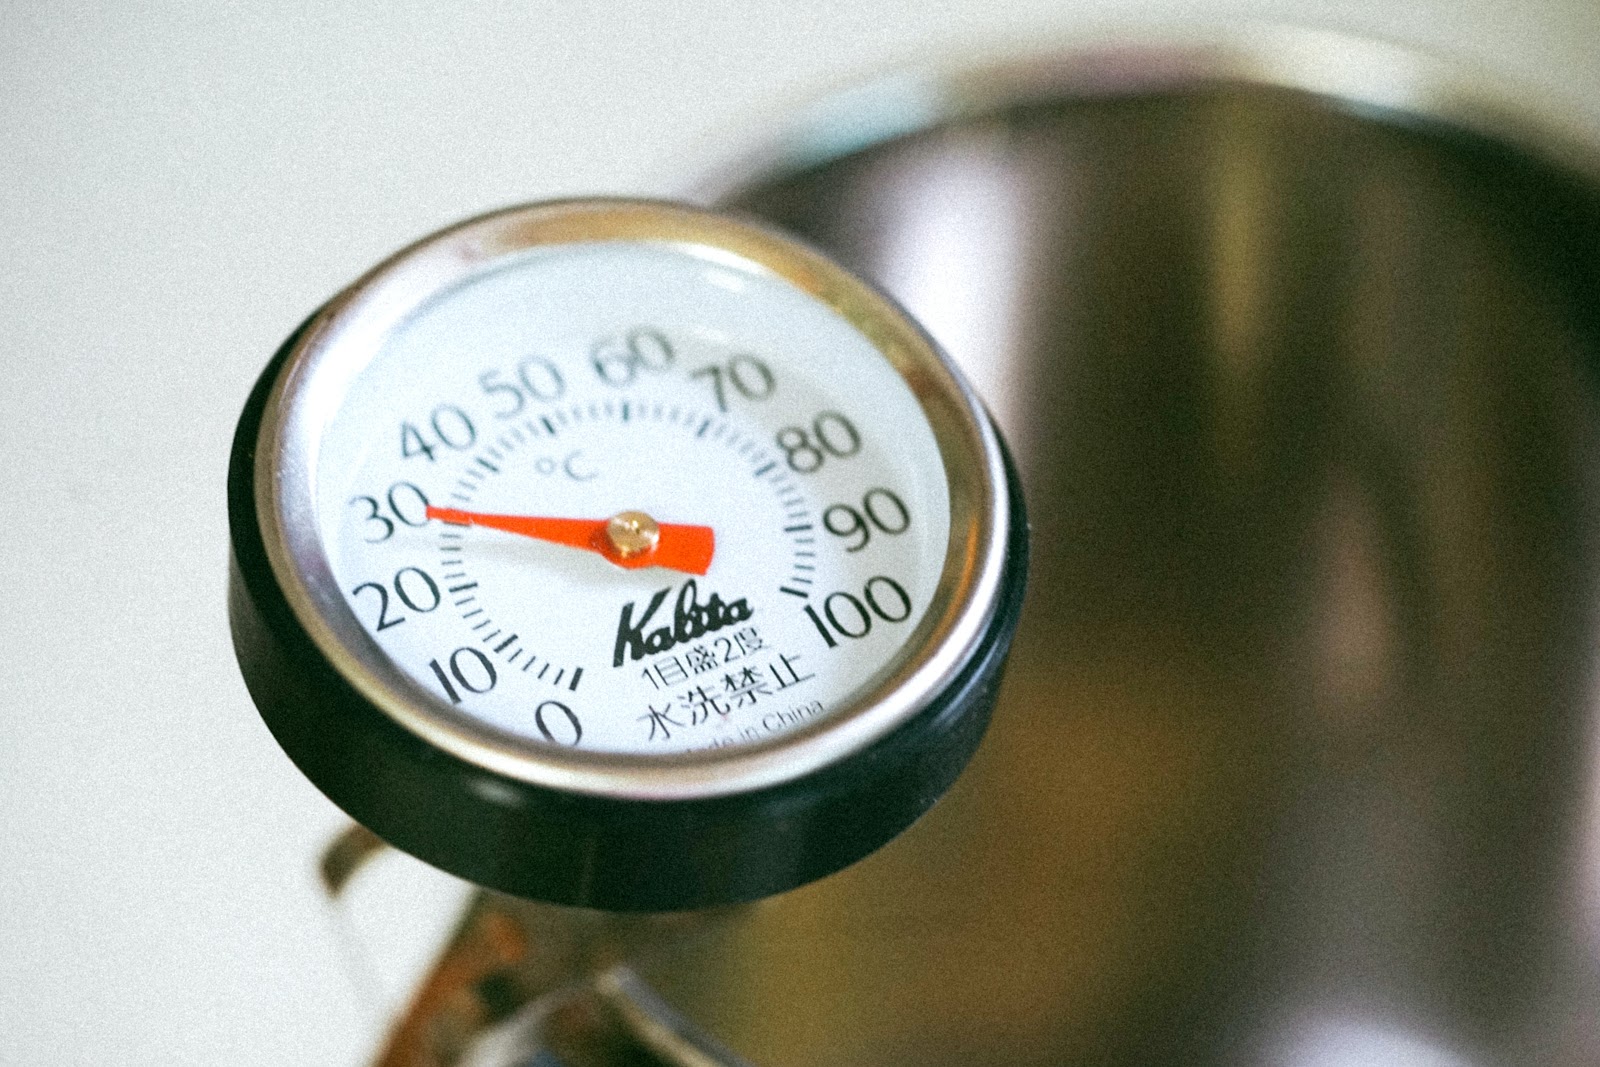
This one is pretty well known by now and well documented. You must be controlling the temperature of your wort during active fermentation to prevent any off flavours from developing and to get the best flavour profile possible. Yes, you can use yeast strains that are more heat tolerant such as Kveik, or leverage pressure fermenting to ferment warmer, but there are some draw backs and limitations to these such as the styles of beer you can make with them, since fermenting under pressure suppresses ester formation which from some yeasts can be desirable.
5. Recipe Design & Development
Quality craft beer is all about balance, so it's a good idea to leverage some tried and true recipes to avoid any issues with imbalances - going overboard with hops, or with specialty malts can lead to overpowering flavours that mean your beer won't quite taste right. There's loads of free recipes available online, or otherwise look for homebrewing recipe books to get started. Be careful when tweaking other peoples recipes too as even seemingly small adjustments could have a big impact on the finished product.
6. Get Kegging
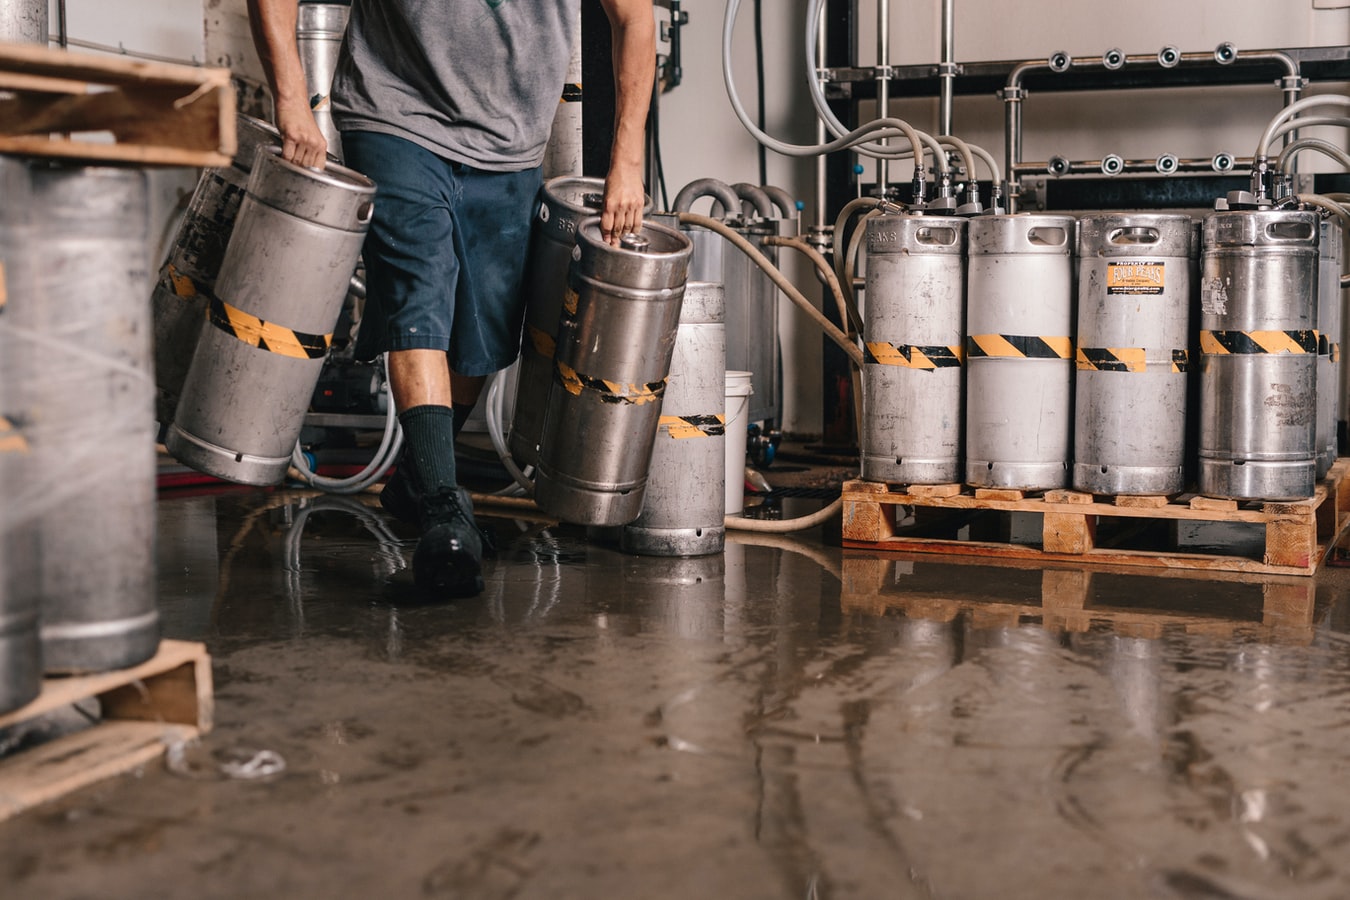
Most of us start out bottling our beers and using bottle conditioning for carbonating in the bottle. The issue with bottling is that you're more than likely exposing your beer to oxygen during the bottling process which will lead to rapid staling of the beer not long after bottle conditioning is finished. It will taste great for a couple of weeks then start to deteriorate. Kegging allows you to package your beer oxygen free, so it will last months in the keg, plus you can have some cool beer tap(s) setup. Yes, you'll need some additional equipment to get going like a dedicated fridge but it's a worthwhile investment if you plan on sticking with brewing, particularly if you like hoppy styles like IPA which are more prone to the effects of oxidation.
If you're intent on continuing to bottle, it's worth seriously considering a small carbon dioxide gas tank and a counter pressure bottle filler so you can do it completely oxygen free. You'll also need a pressure capable fermenter like the Apollo which is a high quality and affordable pressure capable fermenter.
7. Cleaning & Sanitation

Another well documented thing to check off, but well worth a mention. Poor sanitation or unclean equipment will undoubtedly impart undesirable flavours into your beer, or lead to an infection. Make sure all your equipment is clean before use, particularly on the cold side after the boil. Remove any visible contaminants using PBW, rinse, then sanitise with phosphoric acid based sanitiser like Star San. Make sure you dilute your sanitising solution correctly (read the directions on the packaging), give your equipment a quick spray before use and you're good to go. Also check out our article on the difference between cleaning and sanitising.
8. Yeast Matters
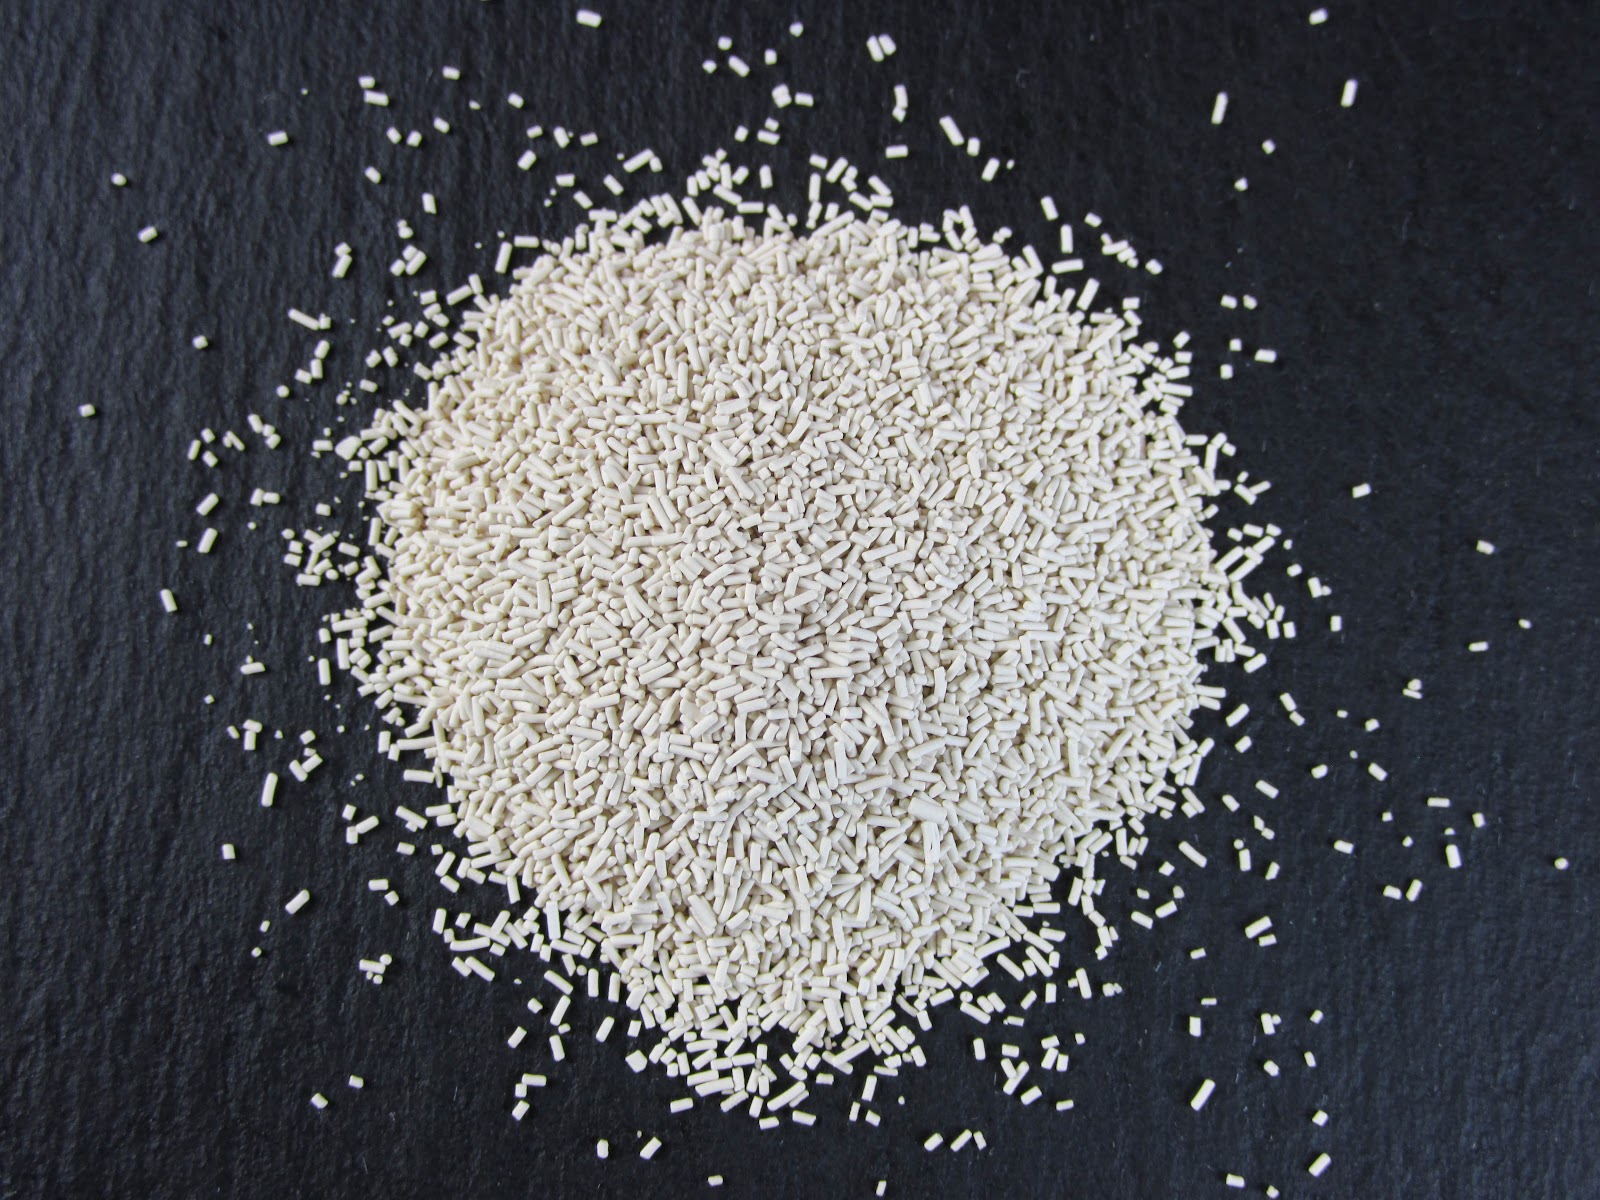
Ensure you're using a yeast strain suitable for the style of beer you're making (which ties closely into Point 5 Recipe Design & Development). Also make sure you're pitching an appropriate amount of yeast for the strain you are using - you can easily check this as it's often written on the packet/sachet or otherwise check the yeast manufacturers website. Pitching an insufficient amount of yeast can increase yeast stress and lead to off flavours developing.
Dry yeast is absolutely fine to use - you can definitely make commercial quality craft beer using dry yeast. It's fine to just sprinkle it onto the wort, or rehydrate it if you want. Using dry yeast will usually negate the need for oxygenating wort and creating yeast starters - it's just quicker and easier in our opinion.
Liquid yeast is also fine to use but you will need to make sure your wort has been oxygenated as the proteins and nutrients required for cell reproduction aren't readily available in the packet like they are with dry yeast.
9. Allow Conditioning Time

A number of off flavours are developed and present during active fermentation, and are typically "cleaned up" by the yeast after primary fermentation has finished. For this reason it's important to leave the beer on the yeast cake for at least a couple of days after final gravity has been reached to allow this process to happen. Raising the temperature a couple of degrees, known as a diacetyl rest can help with this process. Bottom line, don't try and rush things - we've found a typical schedule of 12-14 days from pitching yeast to packaging is sufficient for most styles. Even after you've transferred from your fermenter to keg or bottles, you'll more than likely need another week or two before the beer has mellowed out and reached it's prime.
10. Practice & Documentation

Like most hobby's, newcomers aren't necessarily great at them straight away and homebrewing is no different. Learning from your mistakes is a key part of the journey - we've certainly made our fair share of mistakes and errors since we started. There's a wealth of information available on sites like this, YouTube, Facebook groups, books, magazines etc. Seek the advice of others and research.
We also find it incredibly beneficial to have documented all of the beers we've made - keep your recipes in brewing software like Brewfather, or even a notebook. We're always revisiting past recipes to check what we've done before to remember what worked well, and what didn't, and having good notes and records makes this process much easier.
Related Articles

No comments:
Post a Comment