

Our first attempt at a hard seltzer has now been kegged and conditioning for a number of weeks, so we wanted to share the results and highlight a few points from our seltzer-making experience.
Our seltzer was based on the 4 Day Lutra Hard Seltzer Recipe from Omega Yeast - and whilst we got what we consider a pretty good result here, don't be fooled into thinking this can be turned around in 4 days. Although fermentation will certainly complete in under 4 days since we're fermenting at a much higher temperature than regular ale yeast, some conditioning time with the yeast in-tank is definitely still required to help clean up the off-flavours that are created during fermentation. Even after a week it still had that classic green apple acetaldehyde flavour, and it benefited greatly from 12 or so days from pitching yeast to kegging, at which point it was pretty well ready for drinking.
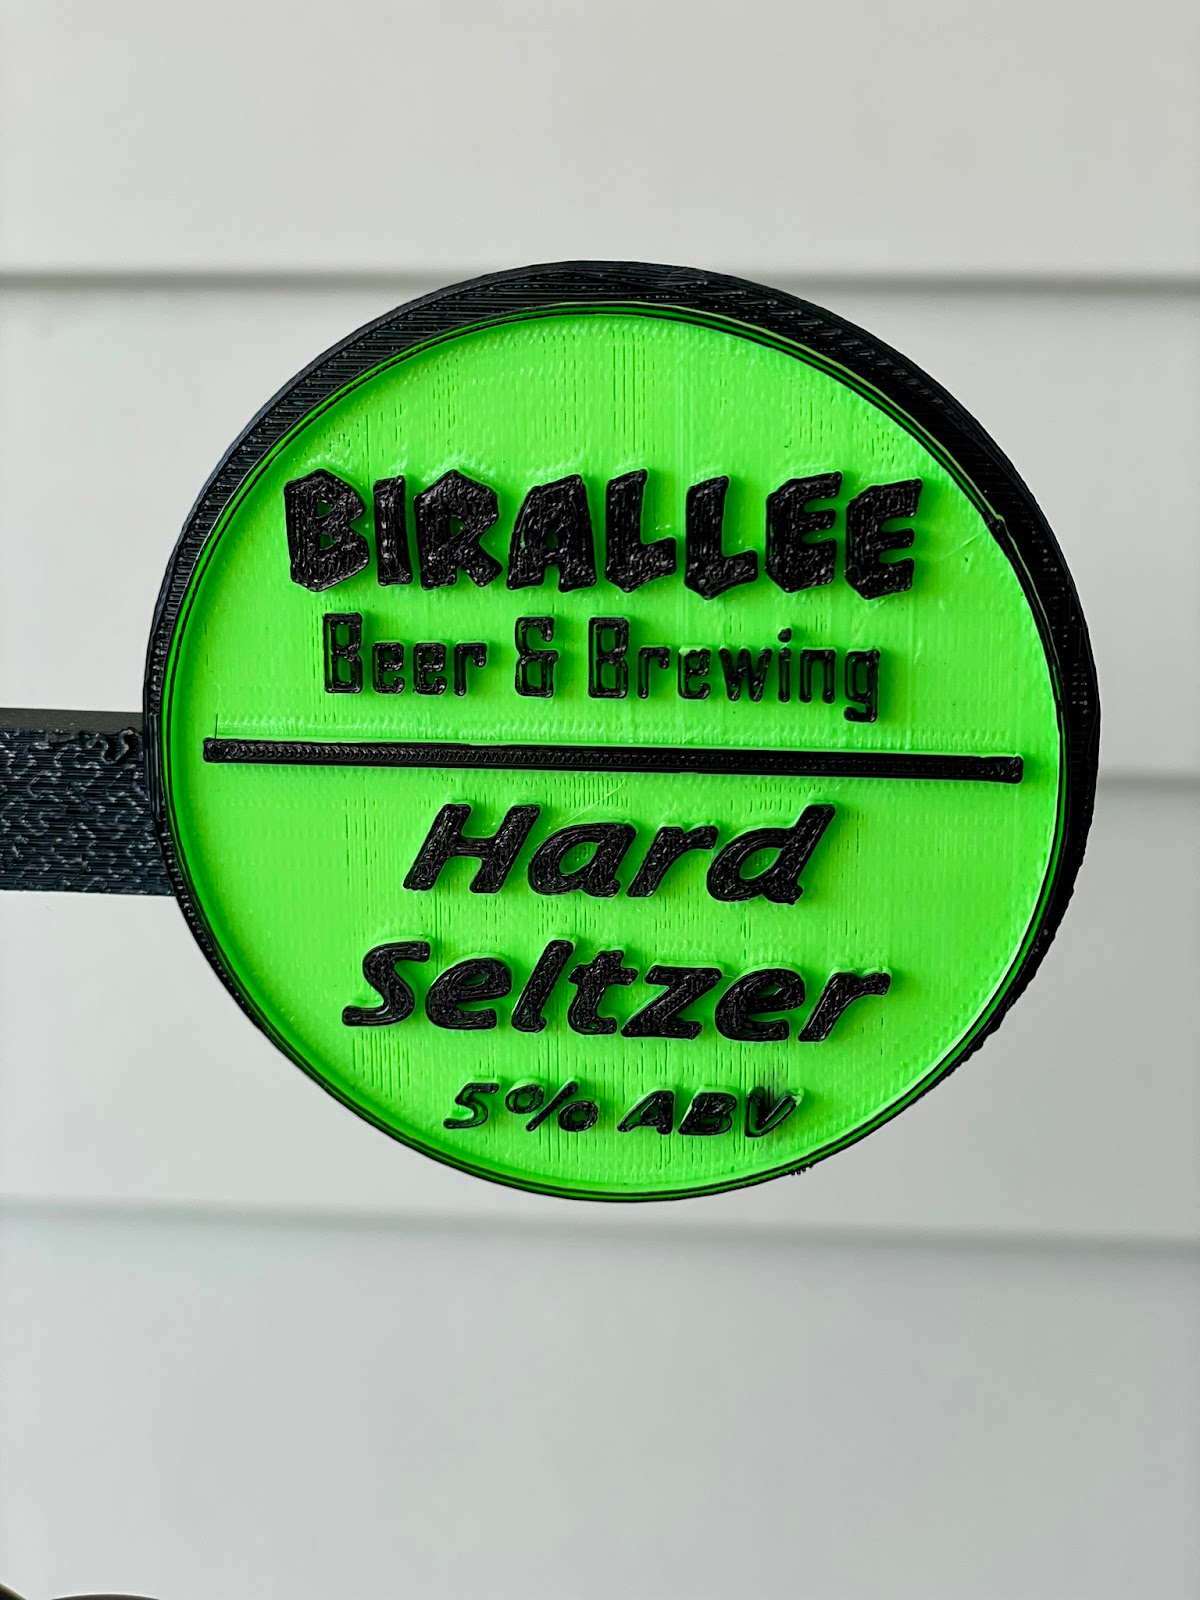
For more info about this batch, check out our Hard Seltzer BrewZilla Brew Day and Hard Seltzer Recipe posts.
Appearance
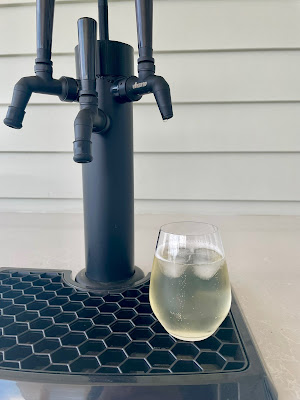
We were pretty impressed at how clear this one turned out, especially since we made no extra effort to clear it up by adding additional fining agents etc. We've heard from others experiences that the Lutra Kveik yeast drops pretty clear and our experience certainly seems to confirm this is the case. Fermenting at such a high temperature (30°C) was pretty different to what we normally do, but the results certainly speak for themselves.
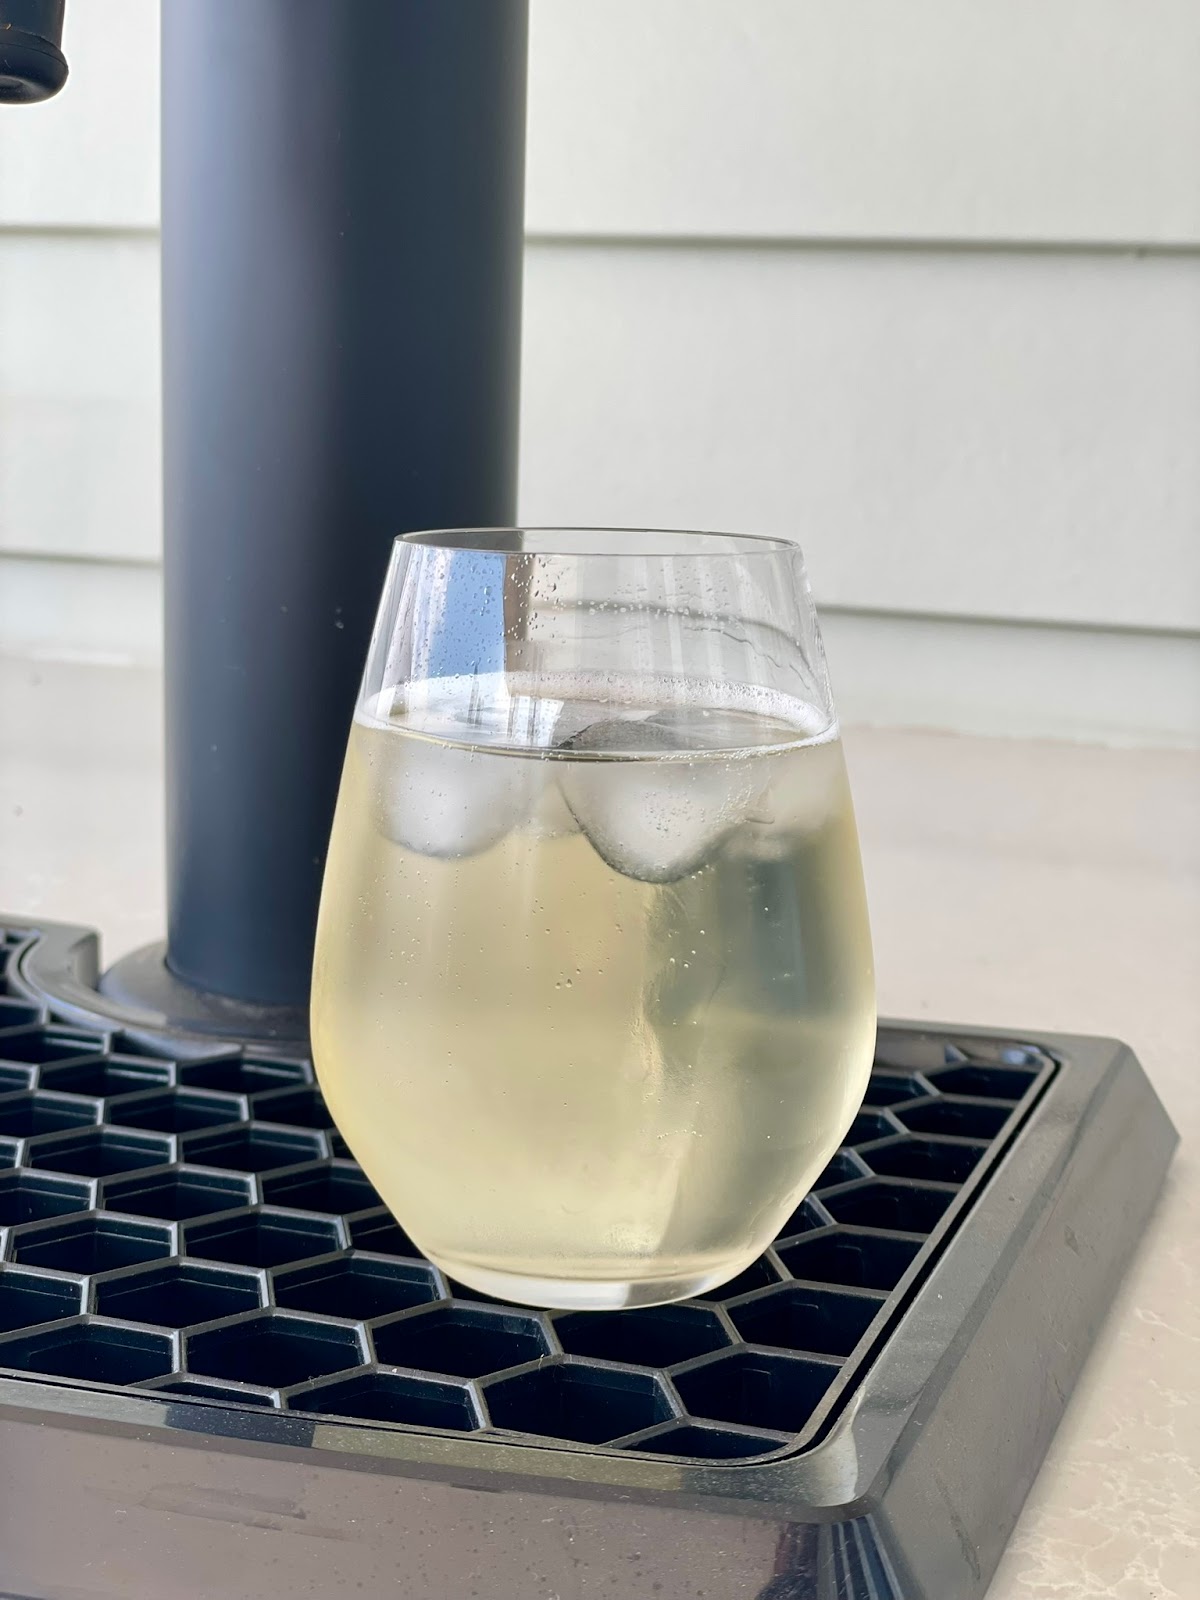
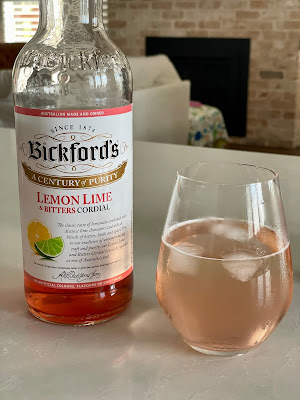
What is apparent though is that the Proper Seltzer nutrients that were added did affect the colour of the final product. As you can see in the picture above, we've essentially got what looks like a glass of (sparkling) white wine, with a slight green/yellow tinge. Can't say we're entirely surprised by this given the colour the sugar solution turned after adding the nutrient at the end of the boil, but we were hoping it wouldn't have such a substantial impact on the final colour.
Taste/Flavour
For those who haven't tried hard seltzer before, the natural flavour is a little hard to describe. Since it's fermented with brewing yeast, there is inevitably a little bit of flavour added - it's subtle and easily overpowered by back sweetening with your preferred mixer (more on this later), but I guess you'd describe it as a mild sort of 'tang'? You could drink it as is, unmixed, which isn't unpleasant or bad by any measure, it just isn't particularly exciting.
In terms of mouthfeel, it's thin as you'd expect, and you'll need to increase your carbonation accordingly because the regular 2.4 volumes of CO2 that you use for a typical beer will leave it somewhat lacking. We've got ours at around 26psi or so, but feel like we could easily increase it to 30 to really get those bubbles going and give it a little more 'bite'. This introduces some challenges when dealing with keg lines though which we'll cover later in this post.
We started off with what was essentially distilled water, and didn't bother adding any other mineral adjustments like calcium chloride as we've seen others do to improve the mouthfeel. It's certainly something you could do if you really wanted to, but we doubt you'd notice any difference one way or the other.
We mentioned a moment ago back sweetening your seltzer to really make it your own. The possibilities are truly endless, and we opted to mix ours in the glass so we could try a few different flavours/options rather than dosing an entire keg to a single flavour.
We're in Australia so don't have access to the syrups you see mentioned in DIY seltzer YouTube videos online, but thankfully there are still a number of decent options available for us to use.
Sodastream syrups would be a good option, but we opted for a creamy soda syrup, as well as lemon, lime & bitters and pineapple & passionfruit flavoured cordials - all from Bickfords which is available in most supermarkets here.
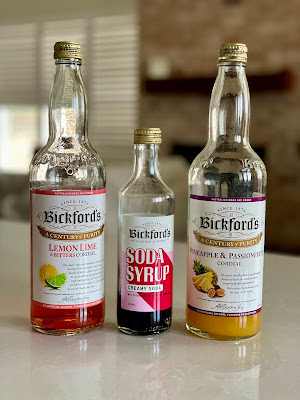 |
| Our initial selection of syrups/cordials for back sweetening |
The beauty of mixing them in the glass is you can play around with different mixing ratios for different sweetness levels and we've enjoyed experimenting with them (but our favourite is definitely the soda syrup out of these three).
The natural seltzer taste is very easily overpowered with the mixers, and it also helps to adjust the colour to something a little more appealing and akin to what you'd expect from a flavoured seltzer.
 |
| Adding cordial or other syrups helps get the colour back to where it should be |
You could easily dose an entire keg with whatever flavour (and ratio) you like, you'd just need to do some testing to figure out how much mixer you'll need to add to your keg to get the desired sweetness level.
Another thing worth mentioning is to be mindful if dosing your entire keg for back sweetening. If you're using anything containing fermentable sugar, you'll need to ensure you keep your keg permanently cold to suppress any yeast activity, or otherwise mitigate a secondary fermentation by pasteurizing. A secondary fermentation will likely effect the flavour, alcohol content and create additional CO2 within the keg.
A Note on Kegging Hard Seltzer
We mentioned previously that you should really be running a higher level of carbonation for your seltzer compared to what you'd run for beer, and if you're planning to serve your seltzer from a keg/tap setup this can produce some challenges - namely with foaming during the pour.
In our kegerator system, we run approx 2.5m of 4mm internal diameter (ID) tubing for dispensing from keg to tap. This works well for us with a serving pressure of approx 15psi for beers. However, when connecting the same length of tubing to a keg that is carbonated and sitting at almost double this pressure (~28psi), the flow rate is significantly increased, and massive foaming occurs in the glass as almost all of the CO2 attempts to escape from solution during the pour.
This is a known issue with draft beer systems, and we need to introduce some more resistance into the serving line to correct this. There are a number of options you can use, but for us we implemented two things which when combined gave us some good, consistent pours that maintained the carbonation we were after in the glass.
Firstly, we used a flow control disconnect on the keg. We've got it set probably 90-95% open, but even just closing off the flow rate a little made a big difference when combined with point number two (below) which improved the excessive foaming greatly.
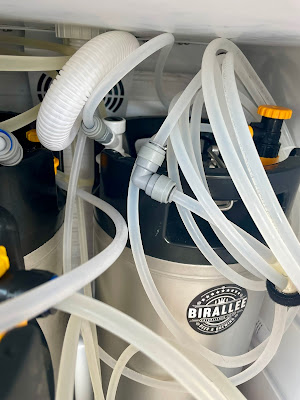 |
| Flow control disconnect and 90° duotight elbow for easy beer line extension |
Just using a flow control disconnect on it's own wasn't sufficient though - it was only when we also added an additional length of beer line to the existing 2.5m that we already had that we got things under control. Thankfully, your beer line can easily be extended by using a duotight joiner. We only had a 90° joiner lying around, but it certainly did the trick for us - you can also get straight joiners which would be preferred, but who knows, perhaps the angled bend helps to reduce the flow rate as well? We had at least another 2-3 metres added to the 2.5m to the tap (though we haven't measured it exactly), but the total line length would now be at least 5m long.
Final Thoughts
The simplicity and quality of our first seltzer making experience means that this will be a regular feature for us, especially during summer. Super easy to make, and relatively cheap, although if you use bottled distilled water, and the omega yeast/proper seltzer nutrient, it does add a little more to the cost. It would be interesting to experiment with adding a heap of 'regular' yeast nutrient to it instead, and trying other yeast like US-05, but we've got what we know is a winning combination here, so why change?
We liked the clarity of the final product, but we were little disappointed we didn't get a crystal clear final product and ended up with that slight tinge that made it look like white wine. As we mentioned though, adding syrups/cordial helps to bring the colour back to where it should be, so it's ultimately not that big of a deal, really.
Another interesting experiment would be to add real fruit to the fermenter to 'naturally' sweeten it, which is something we may try in the future, but for now we've got what we feel is a real cloud pleaser.


No comments:
Post a Comment